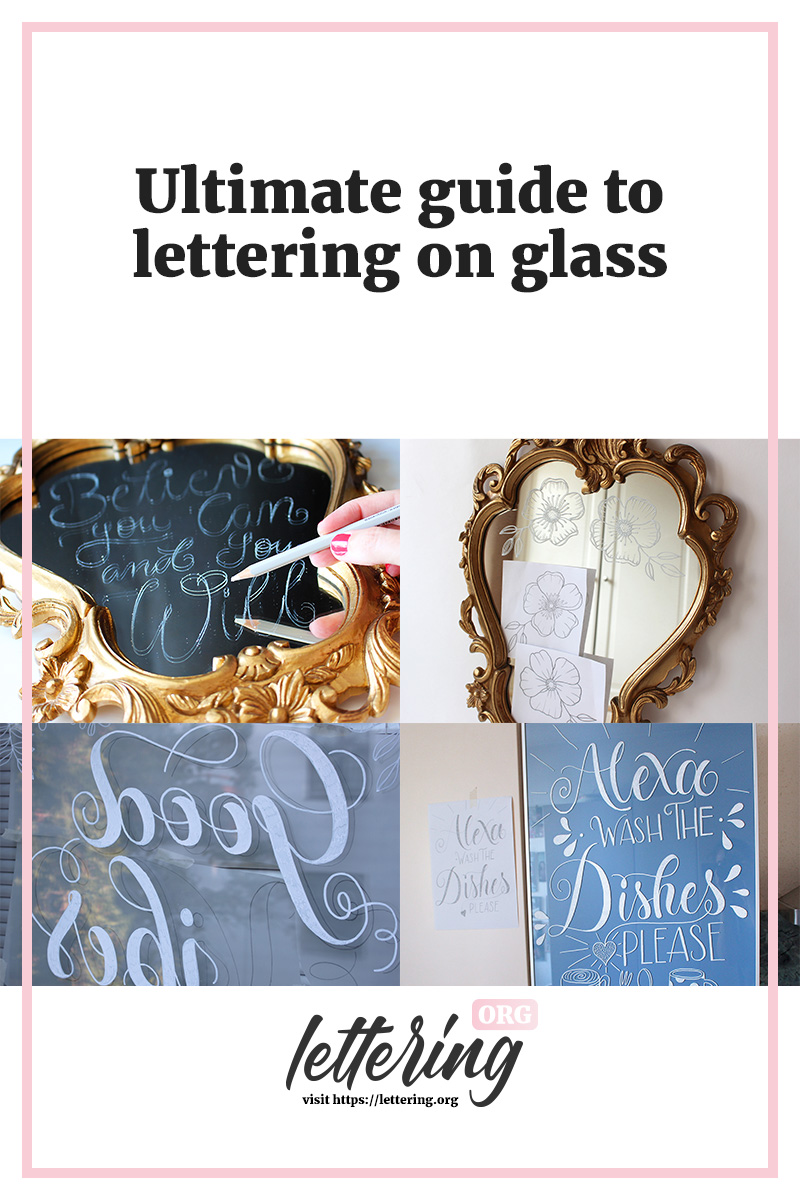
In this tutorial, I am going to present to you a variety of projects where I decorate glass objects and things like mirrors and a window with hand lettering.
Moving beyond paper and materializing your hand lettering skills on objects bigger than sizes of DIN A4 or A3 is challenging and at the same time very cool. Large-scale letterings are just striking. Don’t you think so, too?
Contents
My preferred supplies in general
When I do hand letterings on objects in my flat, I usually do not want my creations to stay forever.
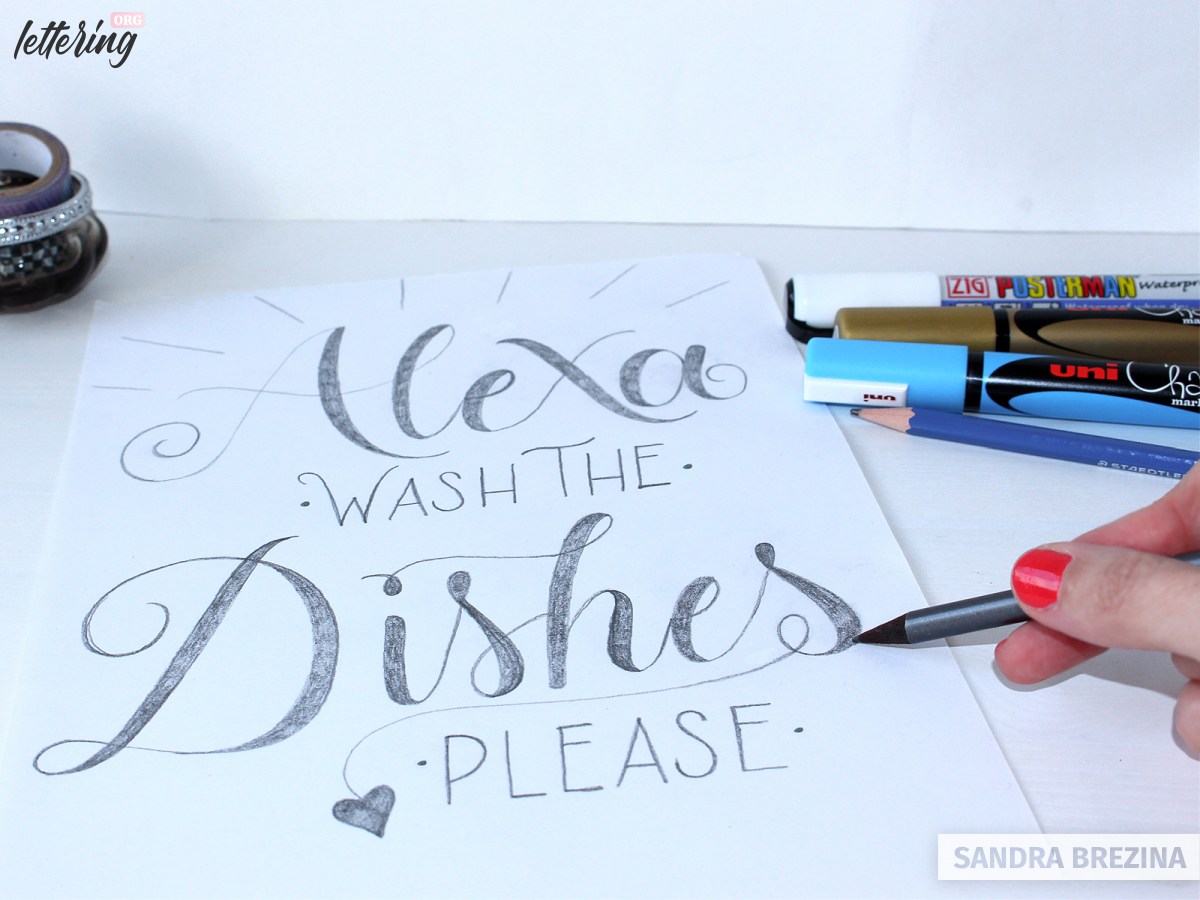
For this reason, I use chalk markers or water-based acrylic paint markers (Uni-Posca) which are semi-permanent.
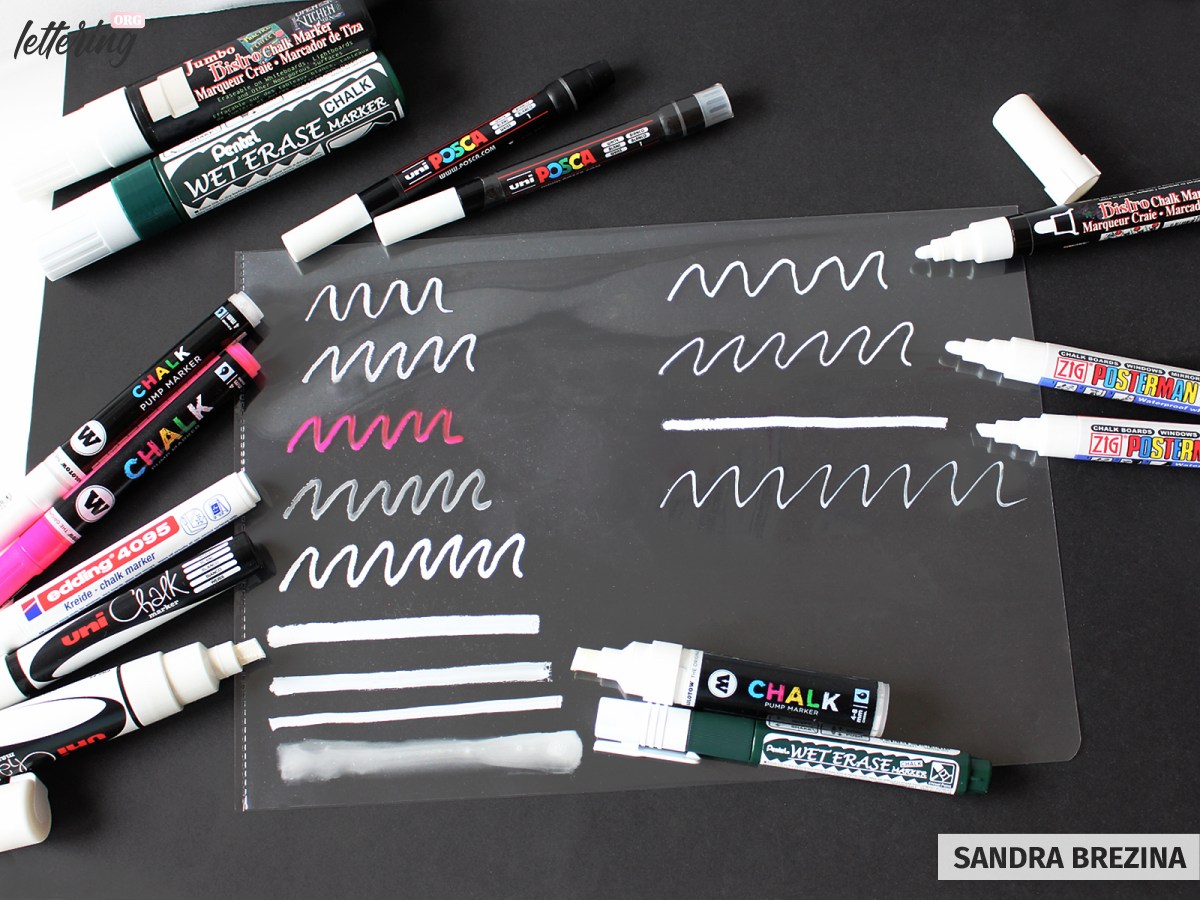
Chalk markers of the brand Bistro are great for sketching and roughly outlining your work, but they can be easily smudged and removed from glass.
If you touch the glass by accident, the chalk will get off the surface. However, if you want to change your lettering on a frequent basis, this brand is just perfect.
Regarding the various chalk markers shown in the photo, I prefer Uni Chalk and Zig Posterman chalk markers. The ones of Zig Posterman (produced by Kuretake) are waterproof when dry. The Zig Posterman wet-wipe version is erasable with a wet cloth.
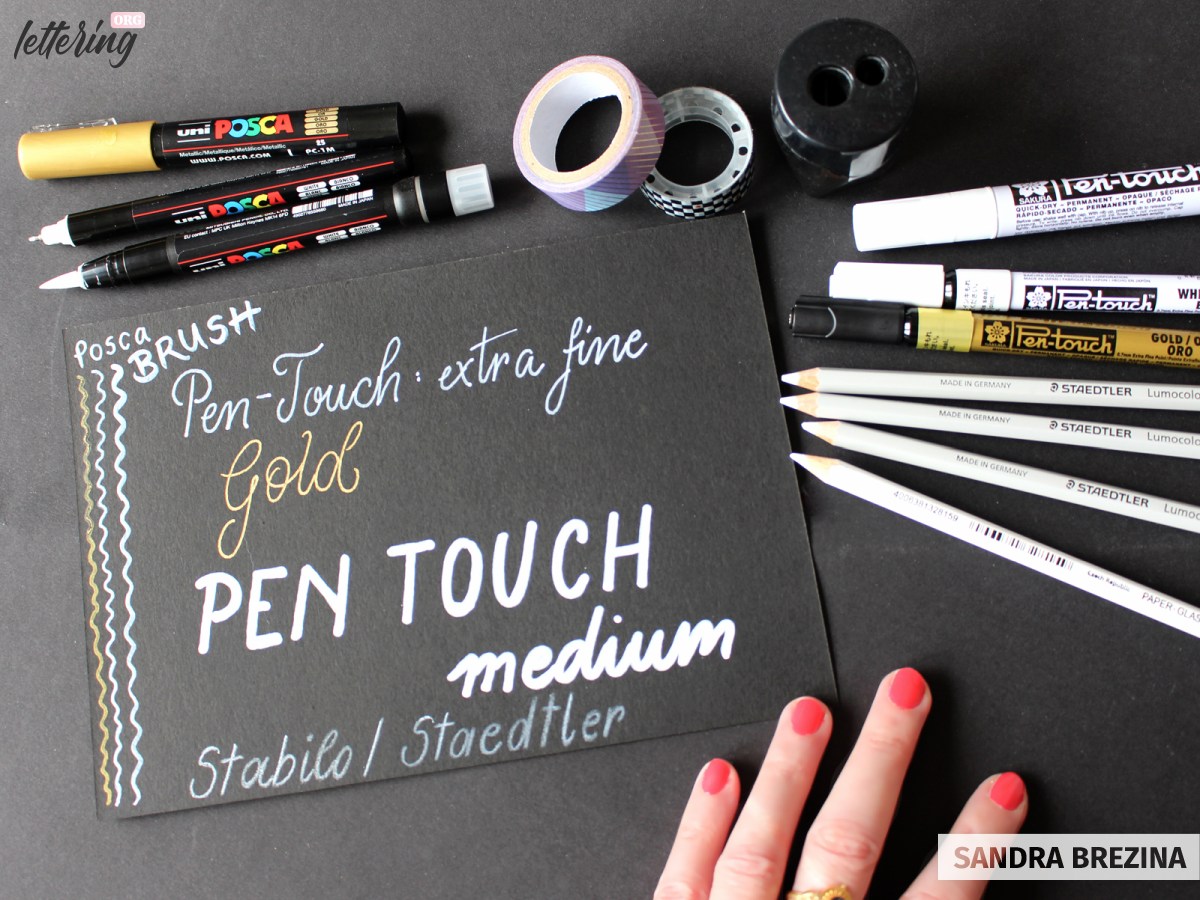
If you want to generate long lasting lettering artworks on glass, choose oil-based markers, such as the ones of Sharpie.
The Sakura Pen Touch and the DecoColor paint pens (the latter is produced by Marvy Uchida) are oil-based as well and they are good tools to write on small glass projects.
Hand lettering on a mirror
Let us start with a small size to get used to the right choice of markers. Be inspired by my approach to turn a mirror into a charming and personalized artwork.
What you need
- Pen-Touch by Sakura (fine point or medium size) – approach 2
- Posca paint marker (brush pen and/or bullet point) – approach 1
- Stabilo all-white (aquarellable pencil)*
- Staedtler lumocolor non-permanent pencil*
- Scratch paper and a black piece of paper (or a transparent foil)
- Paper towel and/or microfibre cloth
- A cotton swab
- Thin rubber gloves
Note: The two white pencils are perfect tools to sketch out your idea on glass. You can easily remove them with a dry or slightly wet cotton swab.
More facts: Mistakes made with acrylic paint can be removed with a dry cotton swab. Oil-based markers can be wiped off with nail polish remover containing acetone.
Ensure that your mirror is totally free of dust and grease. I recommend to use thin rubber gloves throughout the entire process to avoid to leave any fingerprints on the glass.
Let’s dive in!
Approach 1: Mirror, mirror on the wall
Sketch out your lettering design
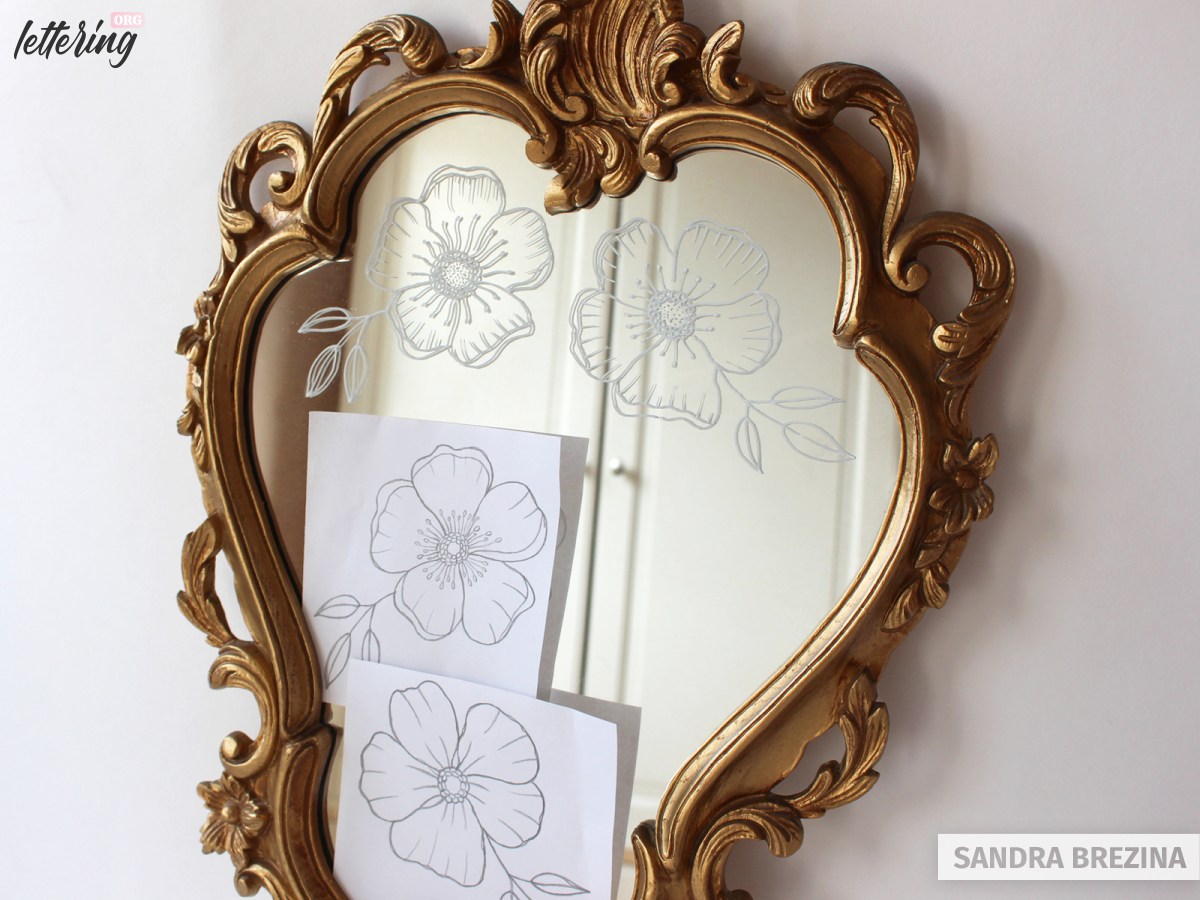
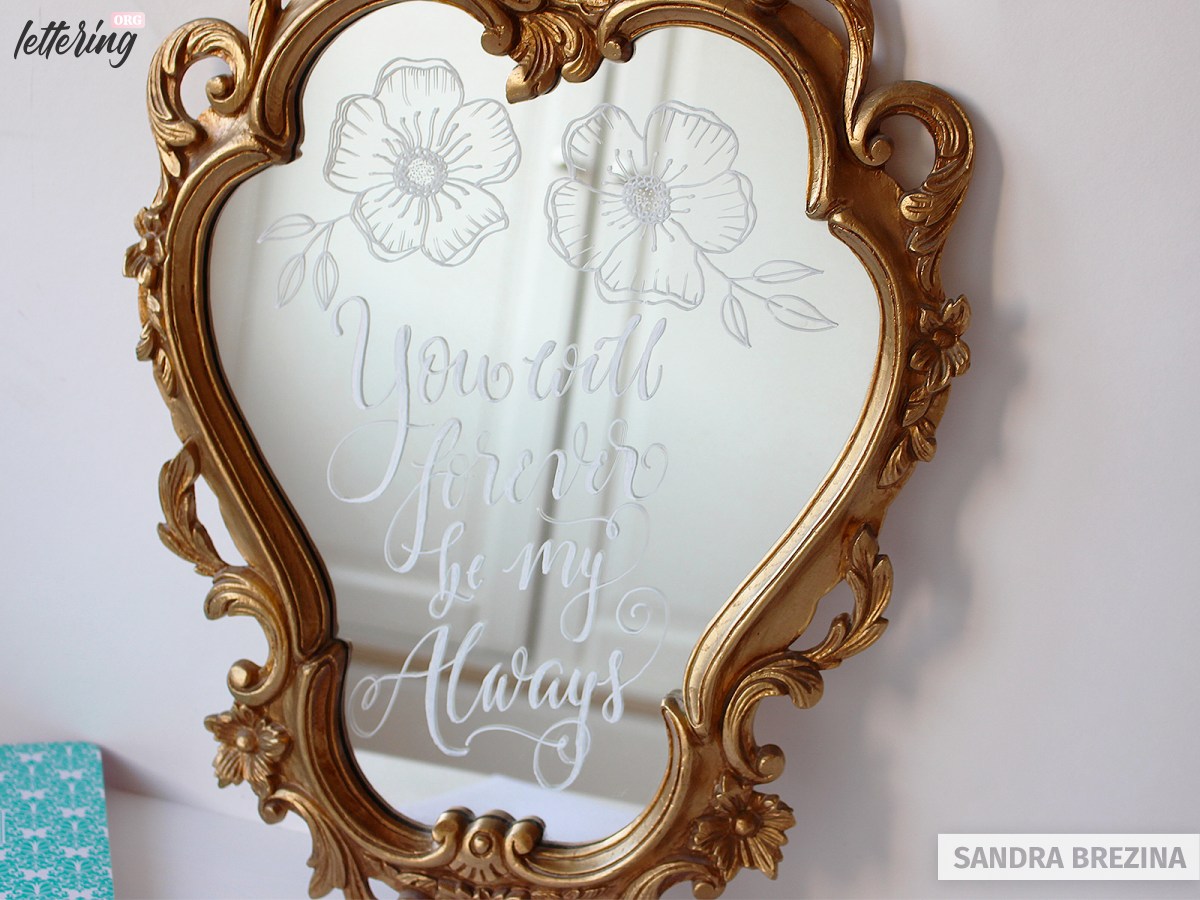
Since my mirror is a very fancy and antique type of object, I decide to start my design with floral elements.
You can draw your illustrations directly on your mirror by using my recommended white pencils. If you hesitate to start without guidelines, this trick is for you!
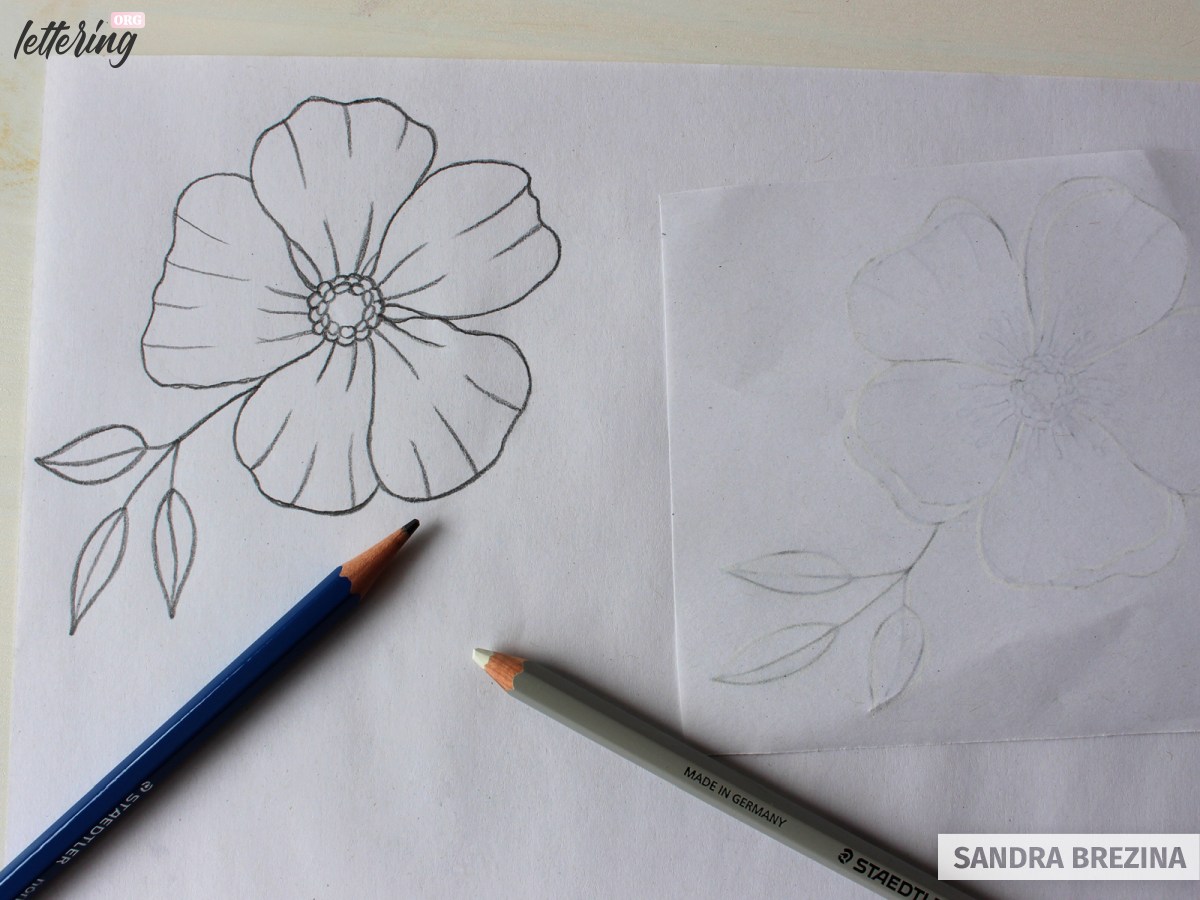
I sketch out my flower with a pencil on paper first. Then I turn my drawing and trace over my pencil lines at the backside with my white pencil.
It is sufficient to redraw just the contours. Don’t waste time with any details. We will fix this directly with the marker. Put some scratch paper below your paper to avoid to copy your drawing onto your desk. 😉
Copy your drawing to the mirror
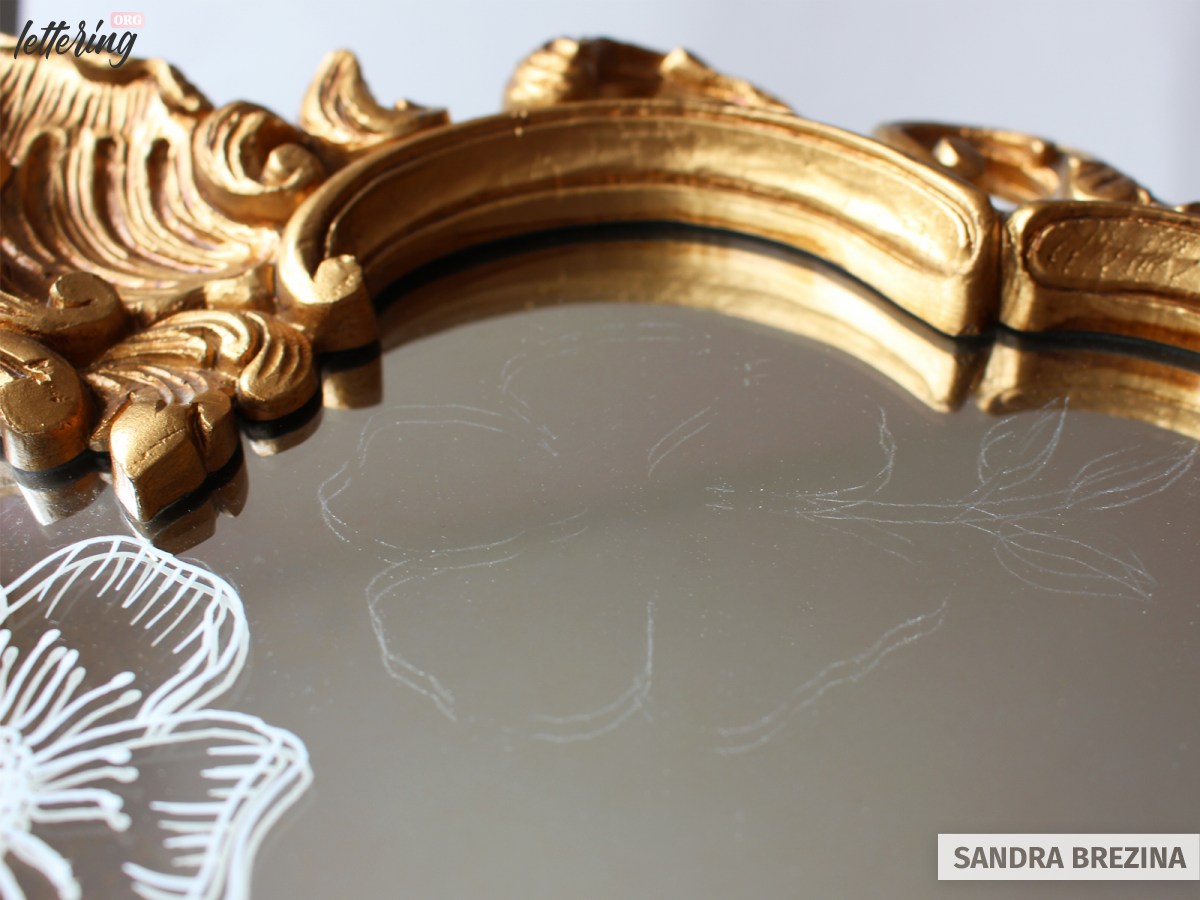
Put on your gloves now. Place your sketch on the mirror as preferred and follow your original pencil lines with a pencil once again.
By doing so, you copy very faint white lines on your mirror. These lines are just a slight hint, but this is better than having no guidelines at all.
Take all your time and be careful. As long as you are in the sketching phase, all marks can be removed with a dry or slightly wet cotton swab or microfibre tissue.
My tip: Writing on a mirror for the first time, may be confusing and difficult because of the specific characteristics of this object. Try to concentrate on the lines in front of you and do not look at them from a side angle.
Approach 1: If you are happy with your line work, use the Posca acrylic paint marker (0.7 mm pin type) to cover as precisely as possible your white sketch lines. Add all details to your design.
Add your hand lettering to the mirror
Proceed with your hand lettering and repeat the process as before.
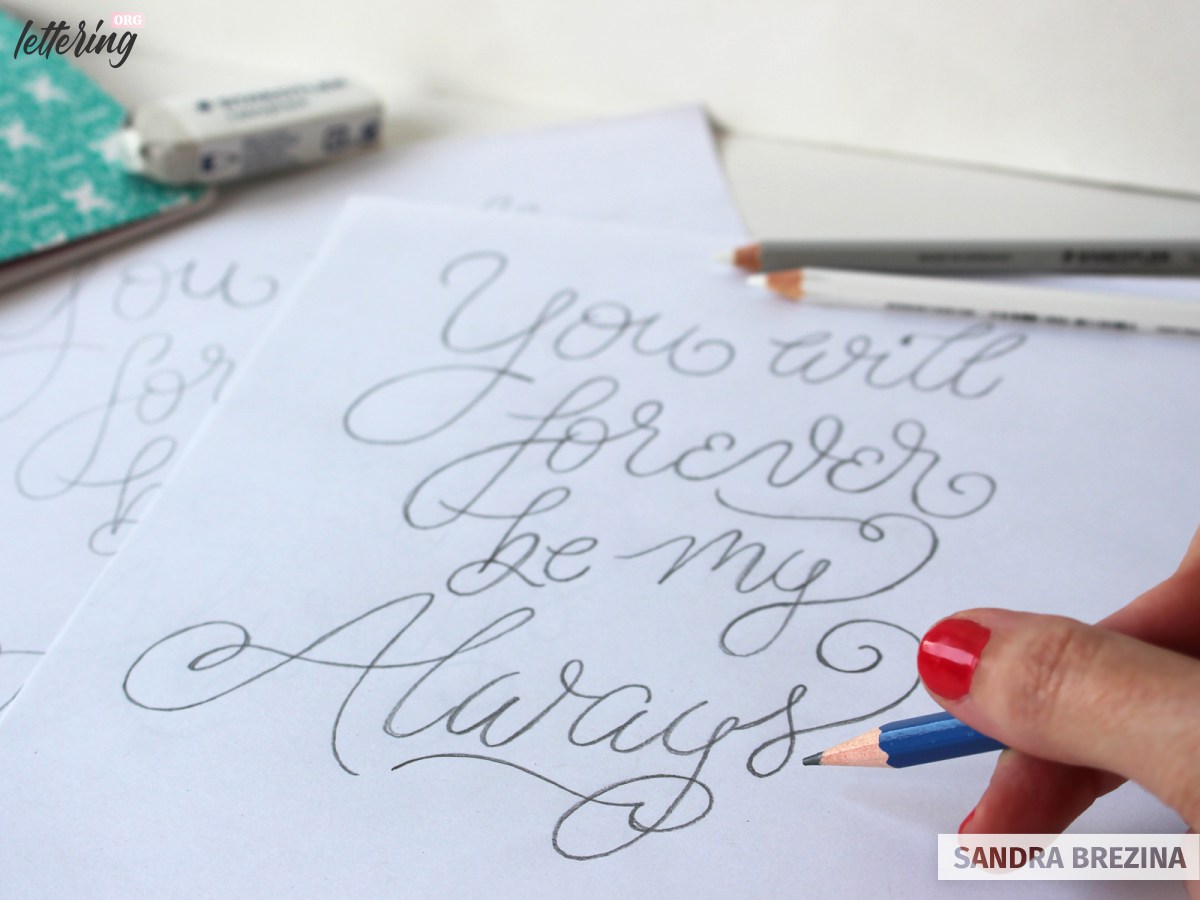
Keep in mind: Acrylic paint dries fast. Draw your hand lettering and if you love faux calligraphy like I do, create the thick strokes as you go along.
As soon as the paint has dried, thickening your strokes will result in scratches and unpleasant clumps on dried areas.
If you need to apply thicker lines or additional paint on dried areas, make tiny dots.
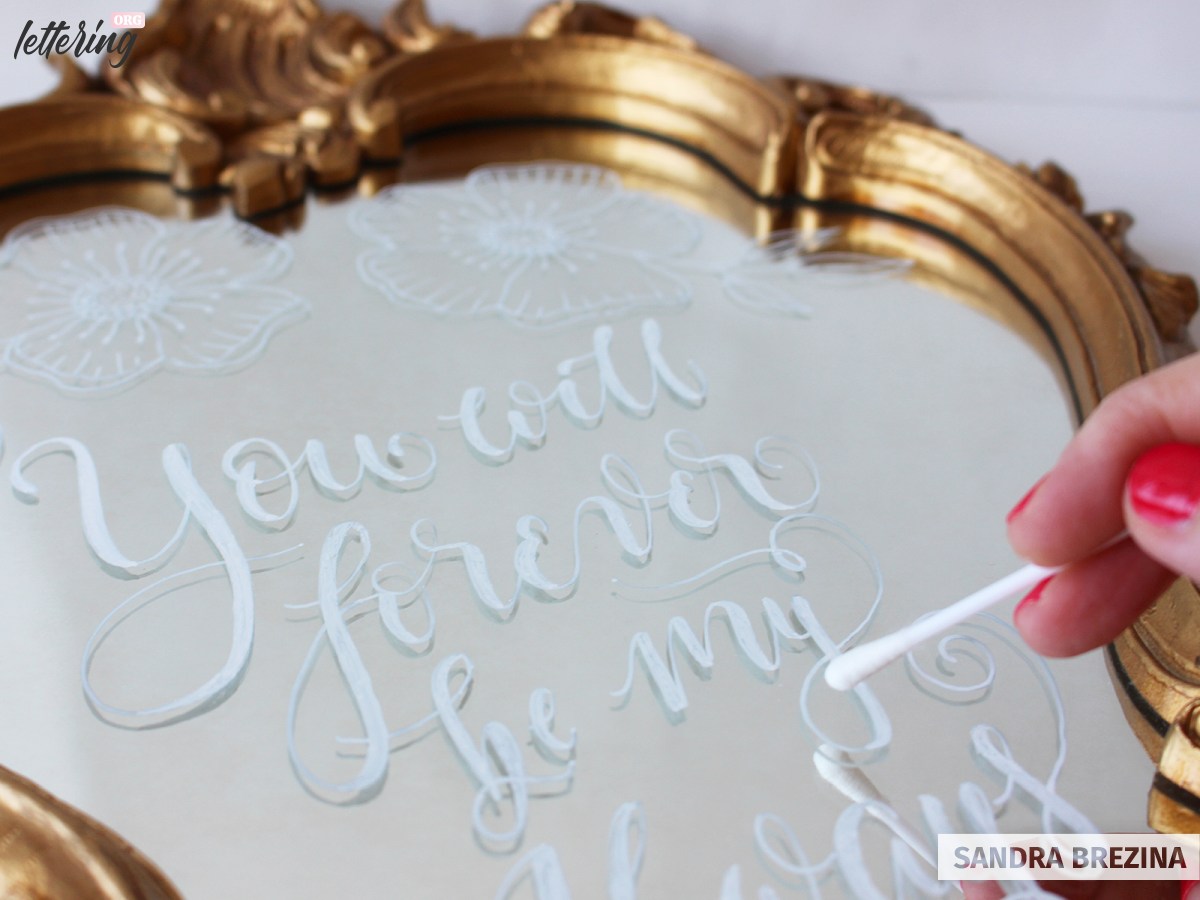
If there are any sketch marks left, use a dry or slightly wet cotton swab to remove them. But proceed with care. Of course you can softly touch your lettering as soon as the paint is dry.
But note: any interactions such as rubbing above the paint with a tissue or cotton swab may scratch the acrylic surface.
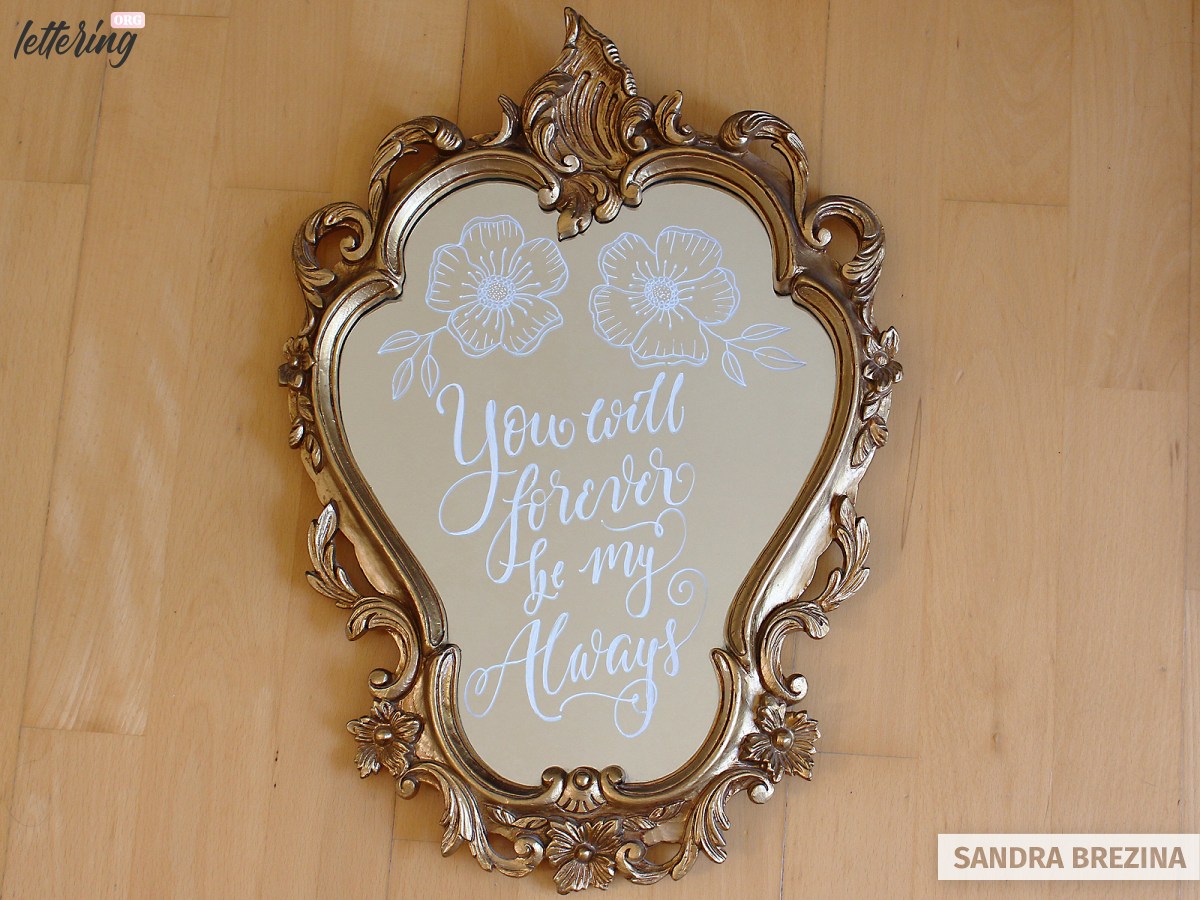
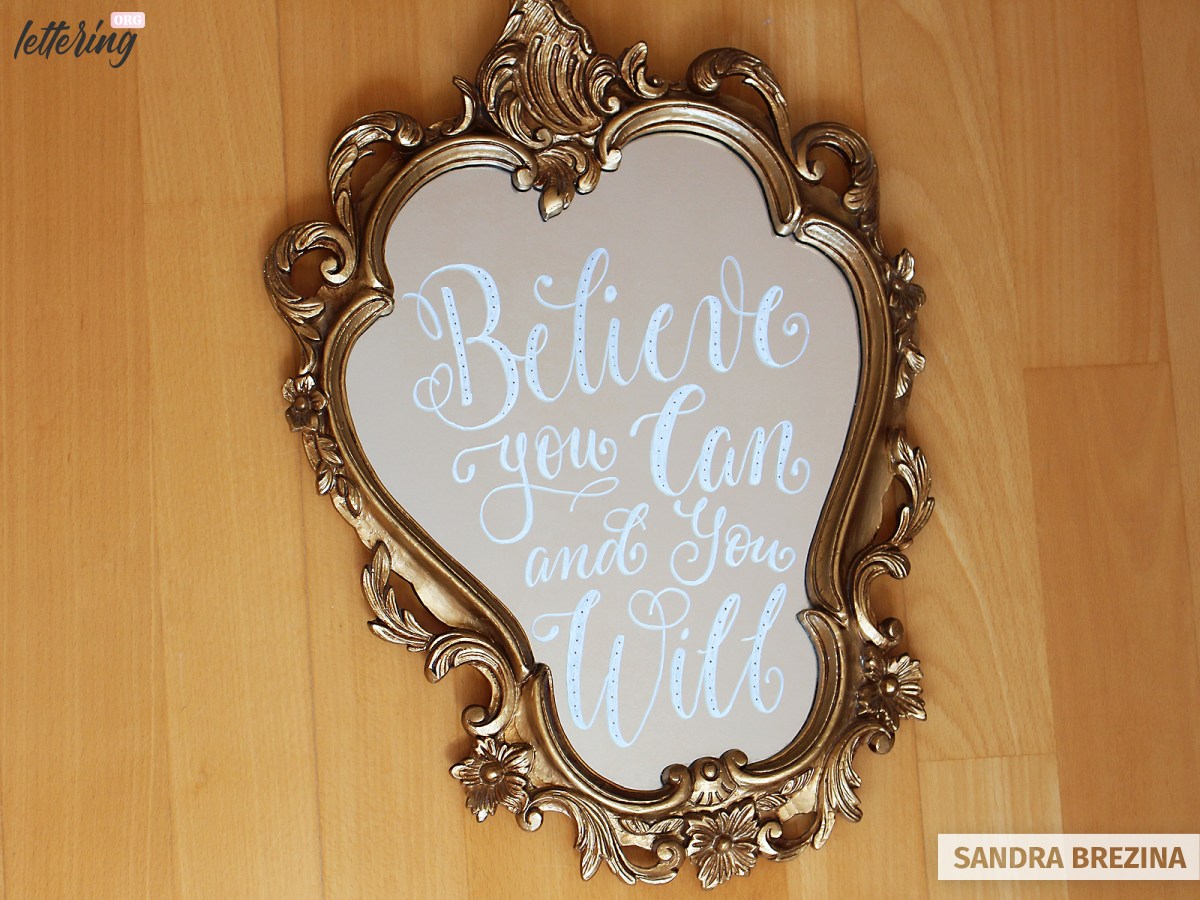
Lean back and enjoy your hand-crafted mirror decorated with letters!
Approach 2: Hand lettering on a mirror
Draw your sketch directly on the object
Put on your gloves. This time, we sketch out our design directly on the mirror with our white pencil.
Make up your idea first to avoid to make too many corrections.
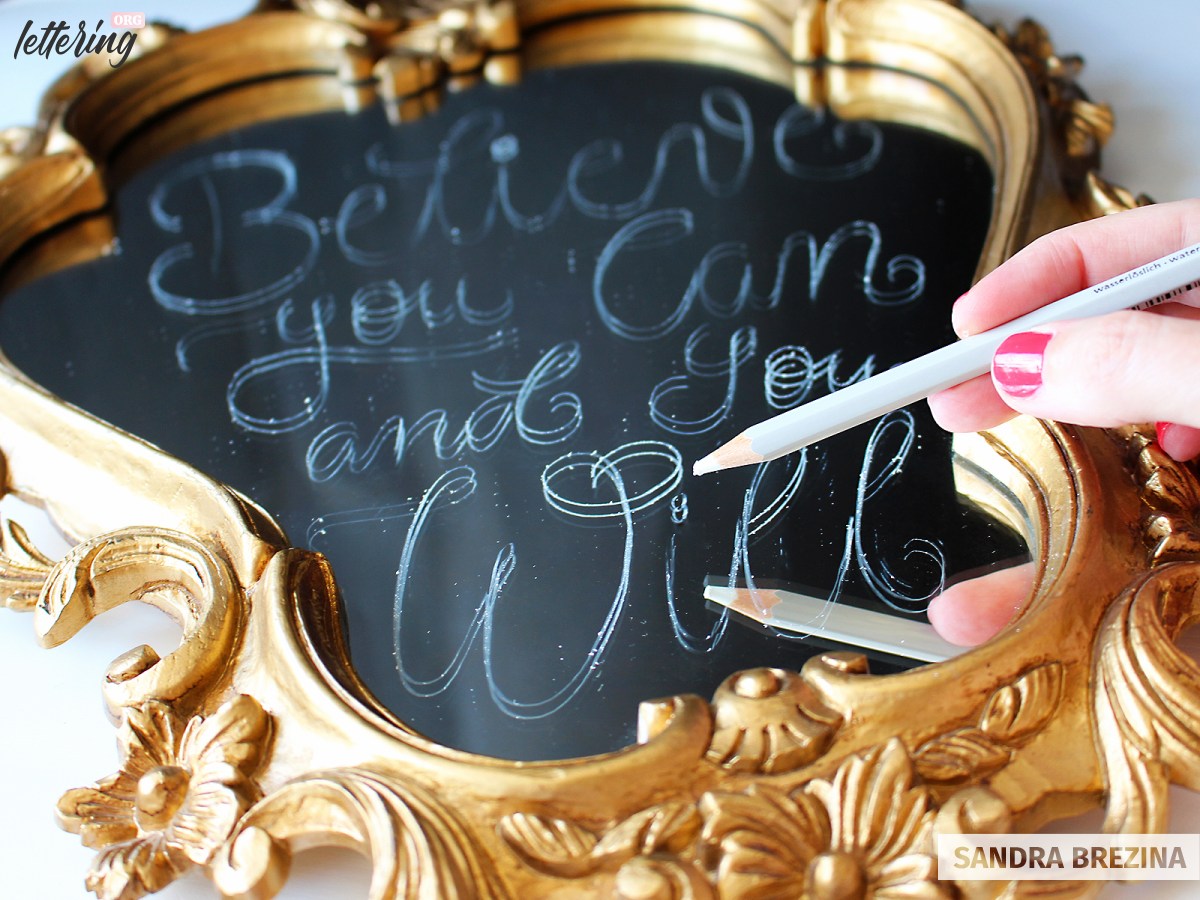
Take your oil-based marker and cover the white lines with paint.
The advantage of oil-based markers is great: I draw my monolinear letters first. Then I thicken my strokes to generate my faux calligraphy style.
I work quickly, but dried paint is not that problematic as compared to acrylic paint. You can work on it and there are no clumps or scratches.
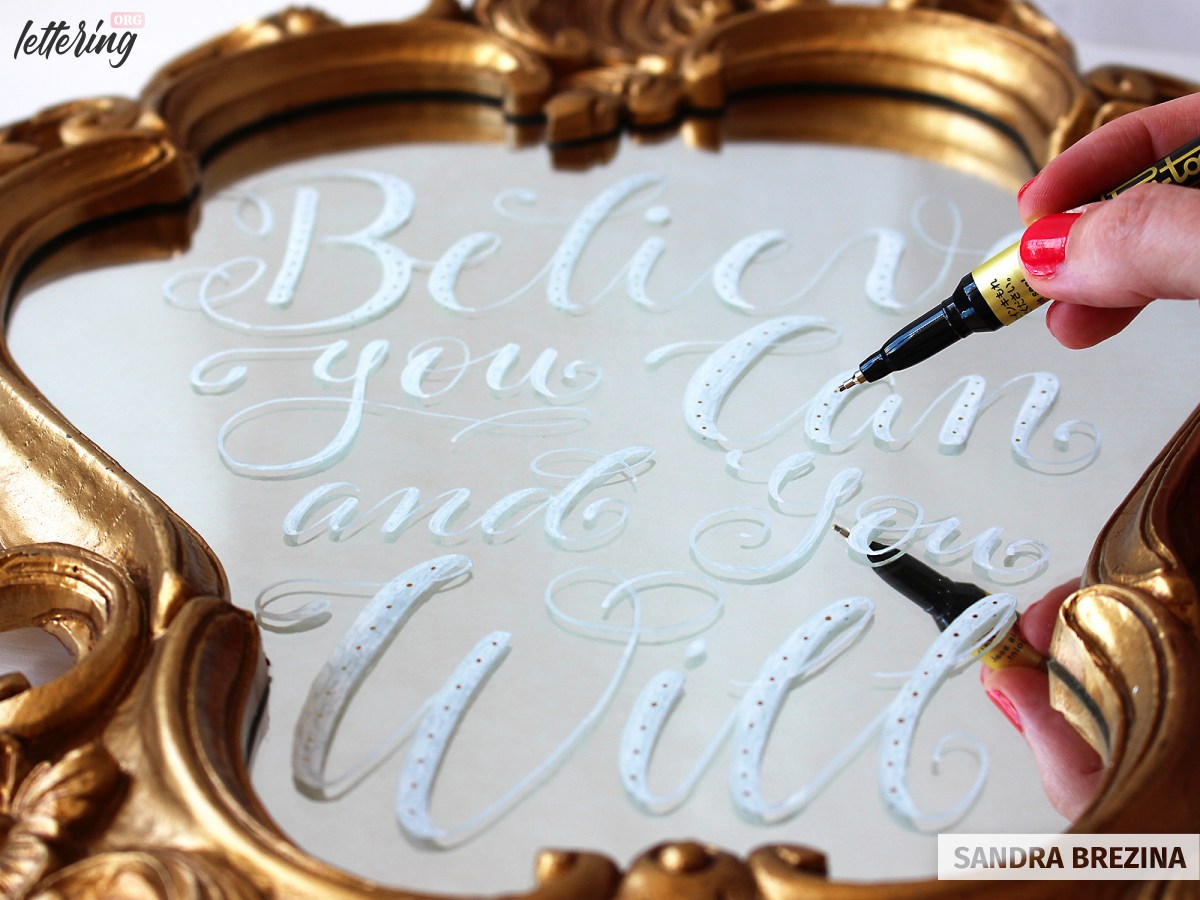
To give my lettering a further boost, I take another oil-based marker and decorate my letters with tiny gold dots.
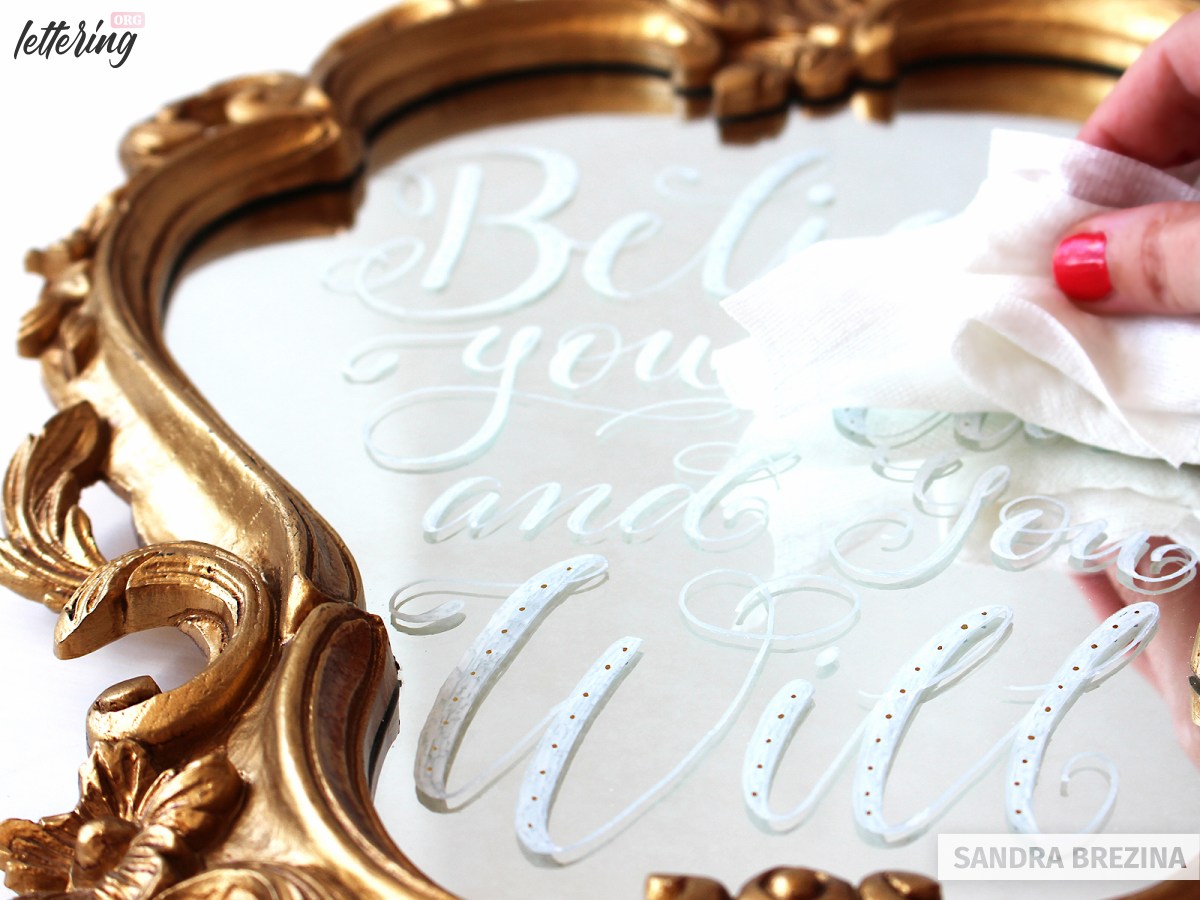
You can even take a microfibre cloth and clean your mirror very gently and carefully.
Now your beautiful mirror piece is ready to be hung 🙂
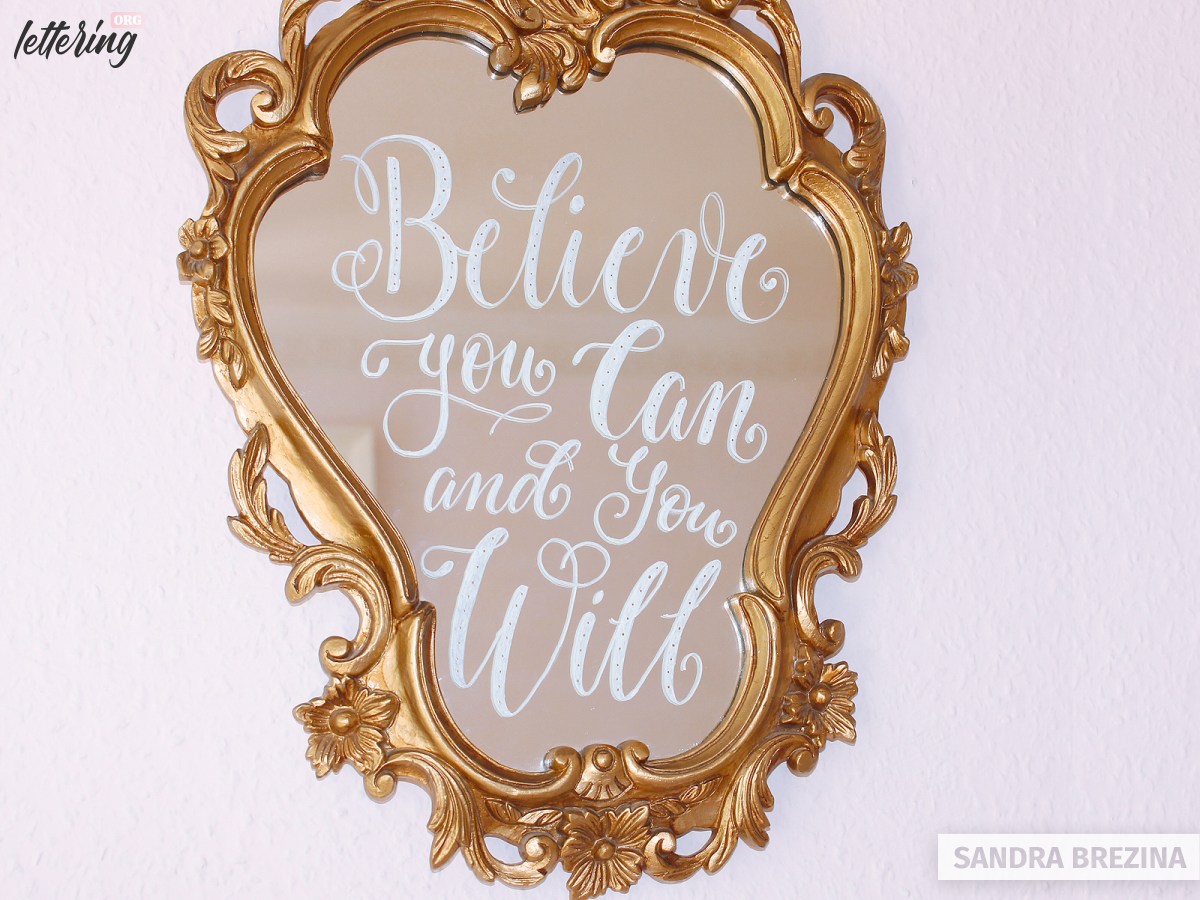
… or gift wrapped.
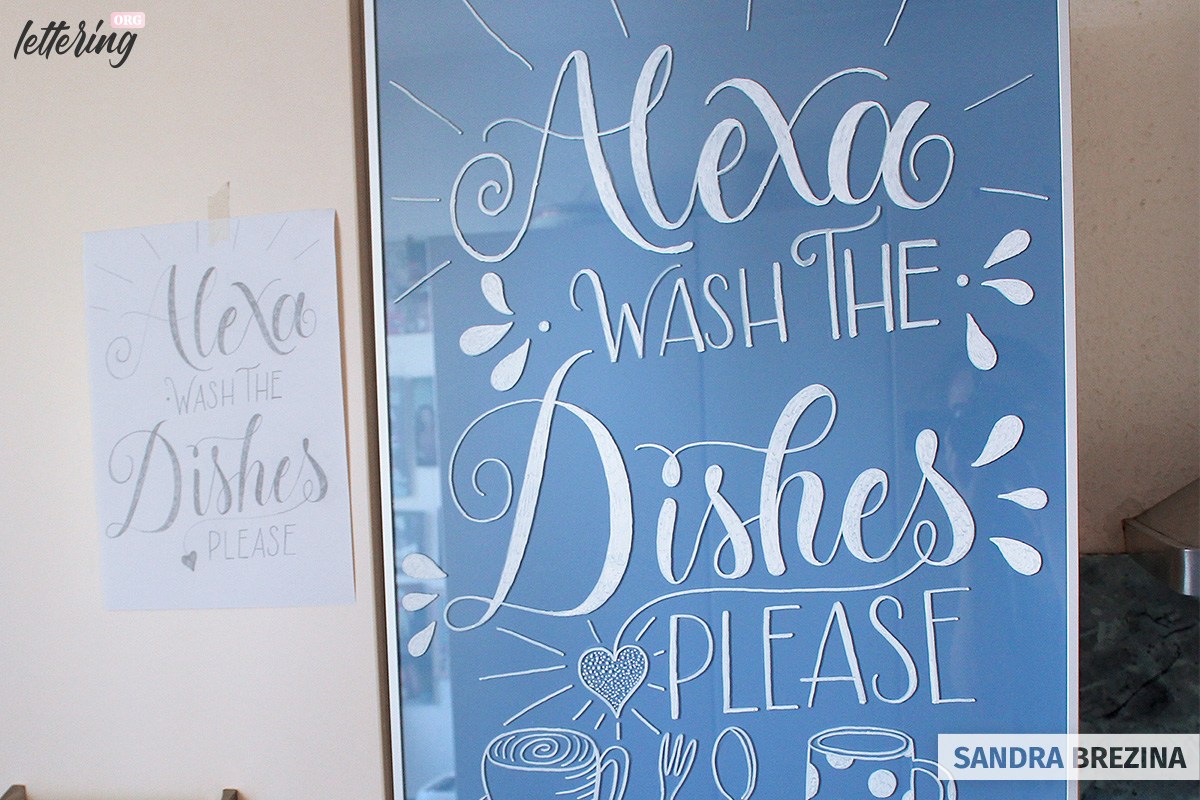
Approach 3: Hand lettering on a glass door
Develop your sketches on paper
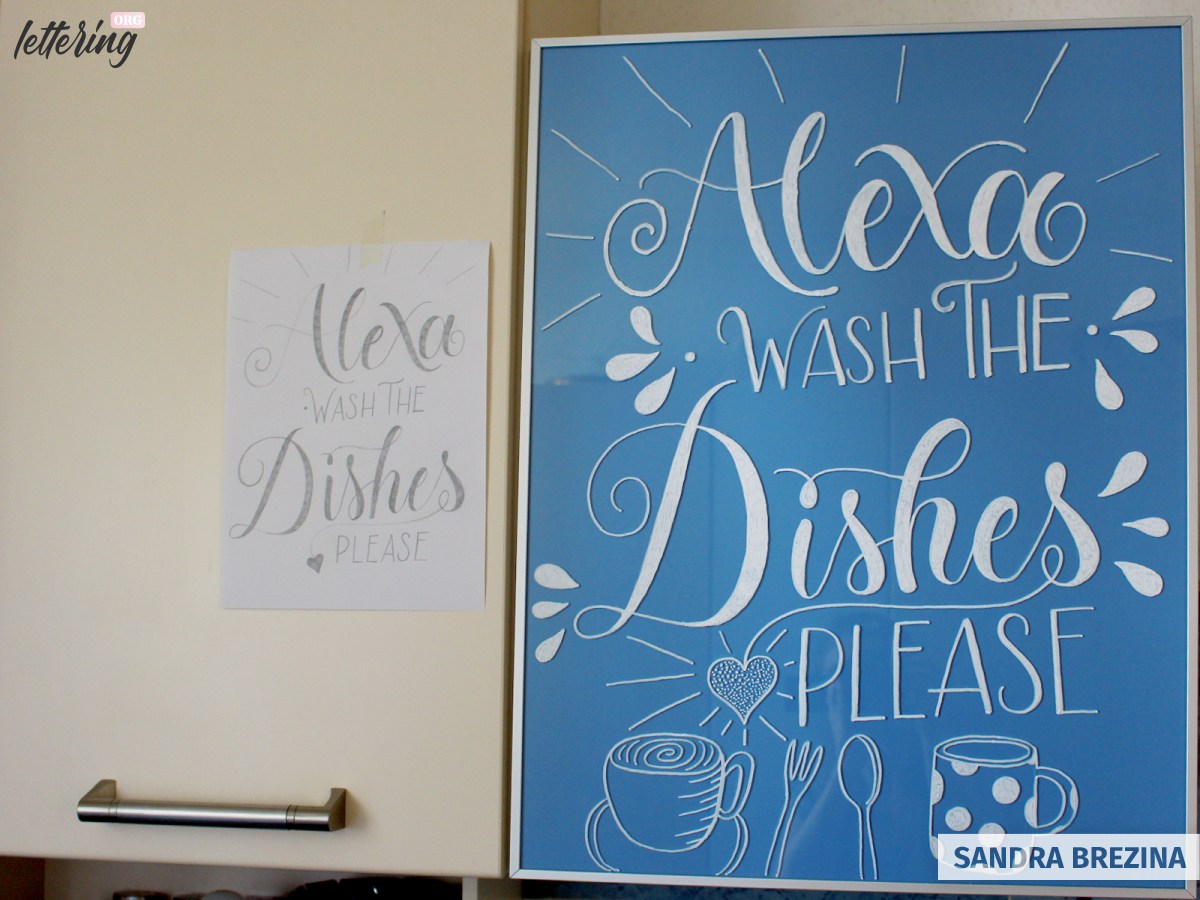
I am going to decorate the blue glass door of my kitchen cabinet. It has a size of 50 x 67 centimeters. I develop my sketch in DIN A4 (portrait format) to have a rough concept.
What you need
- Chalk markers*
- Rubber gloves
- Wet cloth or microfibre cloth or paper tissue or household cleaning eraser
- Cotton swabs
- Painter’s tape
- Some kind of glass to test the flow behaviour of your chalk marker
- Stabilo aquarellable pencil or Staedtler lumocolor non-permanent pencil
*Please read my tips on chalk markers and their levels of permanence in the introduction.
Working on big glass objects
Put on your gloves and ensure that your object is free of dust and grease.
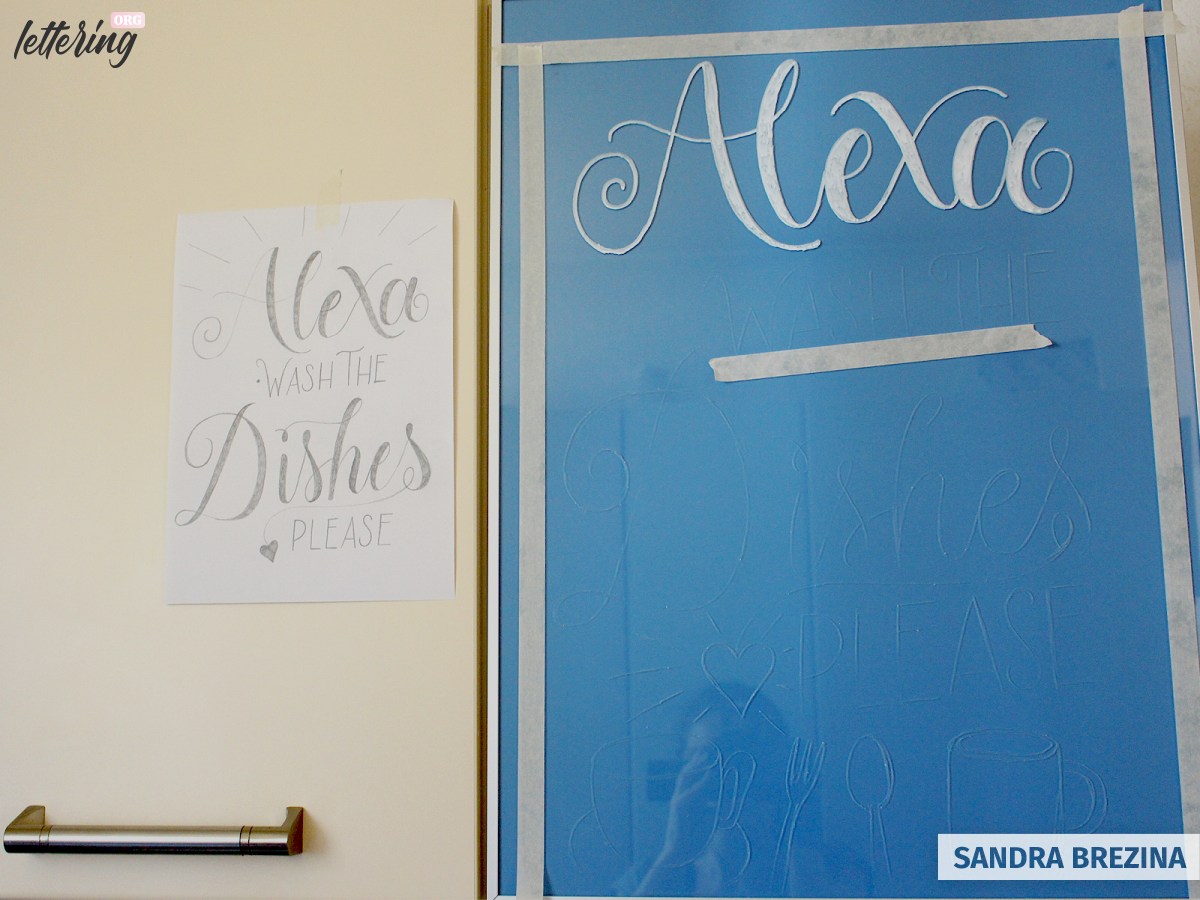
First, I make a grid with use of a painter’s tape. I do this just by eyeballing with the goal of leaving about 1 centimeter around my future lettering.
Then I attach my sketch near to my working place and fix more painter’s tape wherever I need guidelines for my letters. Since my hand lettering is arranged aslant, I can adjust the tapes without use of a spirit level.
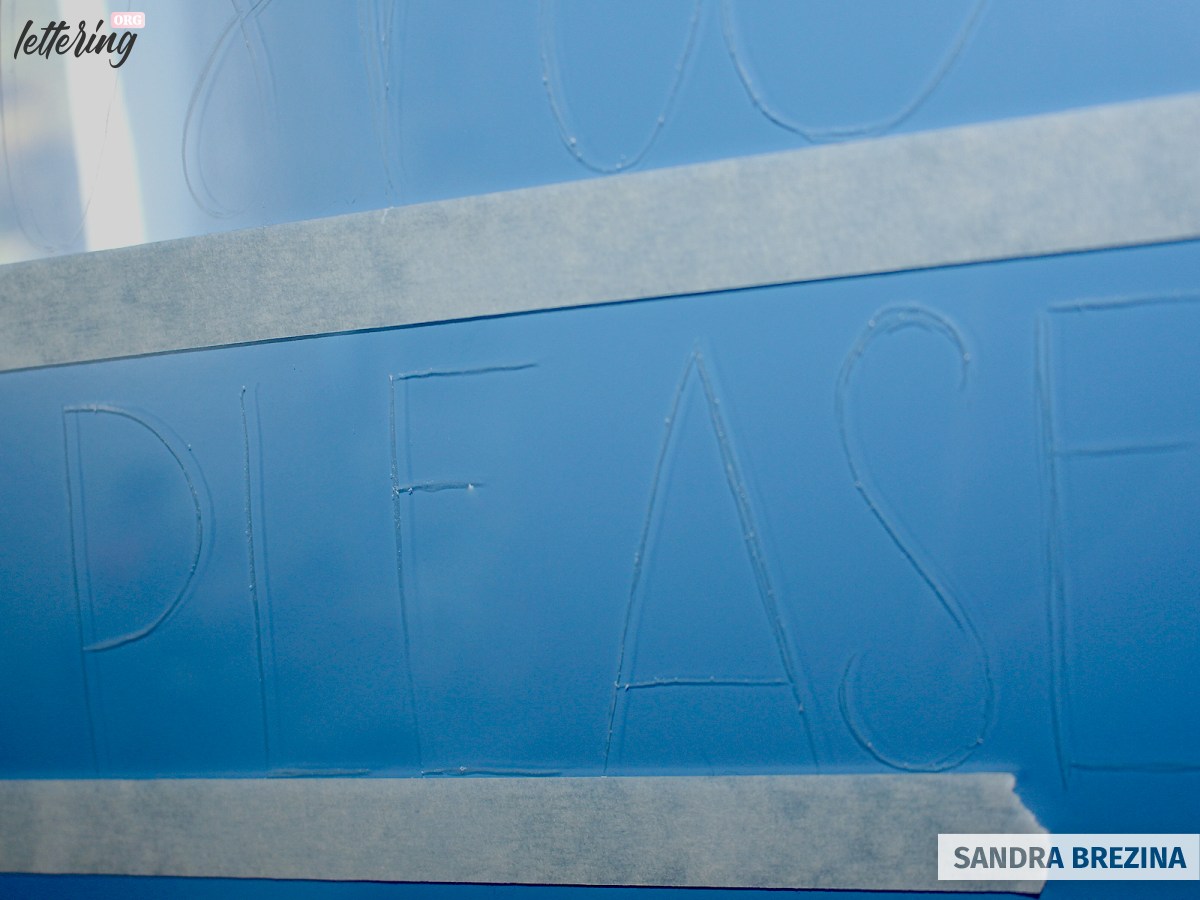
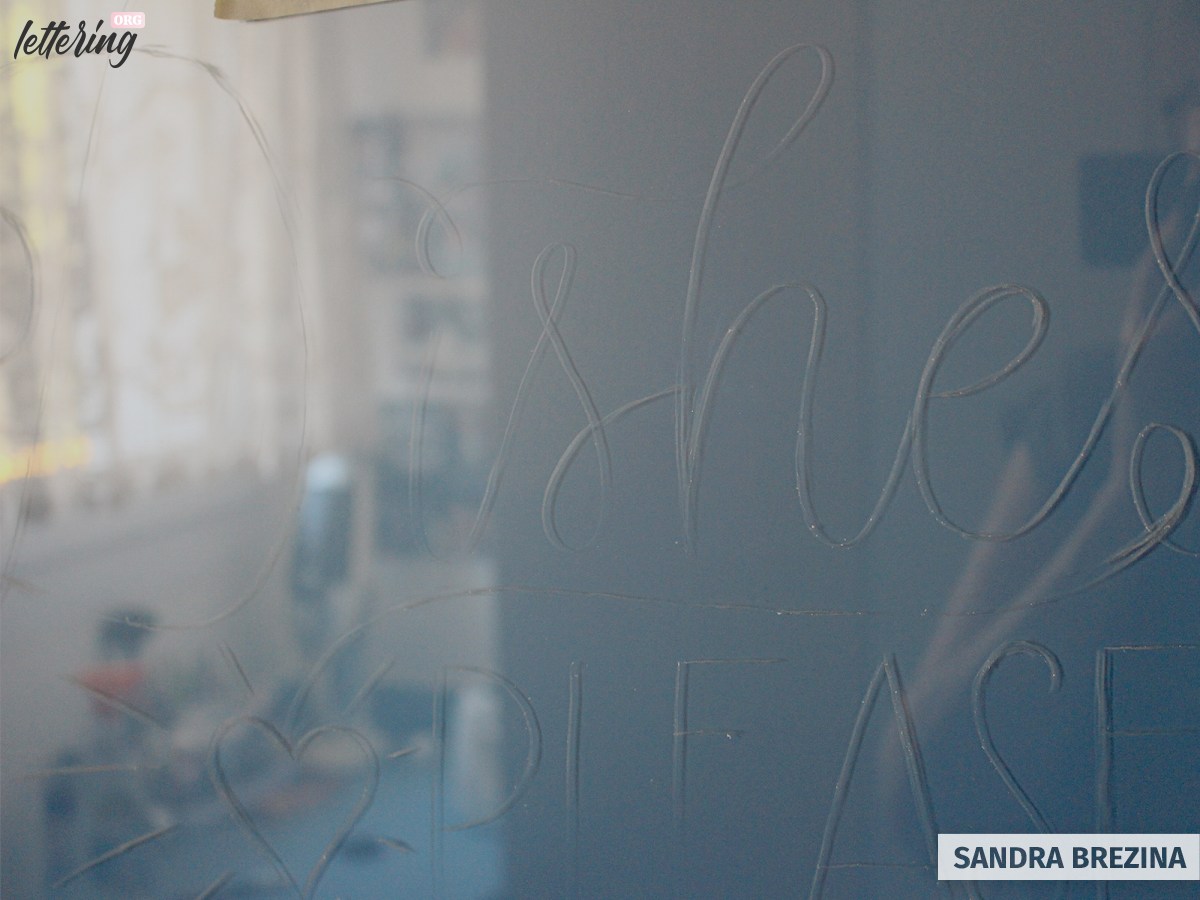
I redraw my sketch directly on the glass door with a white pencil. I focus on each letter and correct unpleasant lines with a dry cotton swab.
Take your time and work on this drawing until you have a result you are totally happy with.
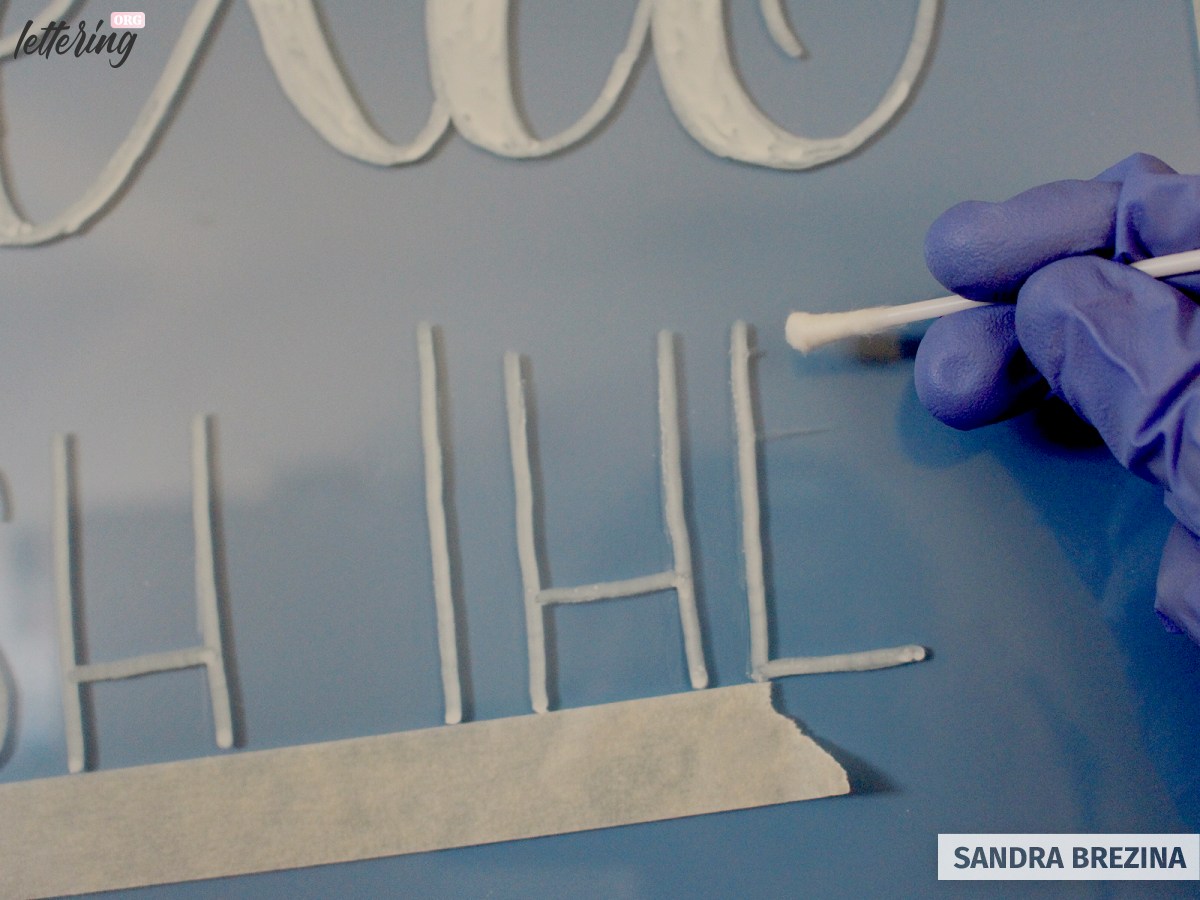
Next step: I take my Uni chalk marker, test its flow behaviour and start to cover my white lines. Chalk markers do not leave a homogeneous opaque coverage. But their typical chalk-like appearance is very charming.
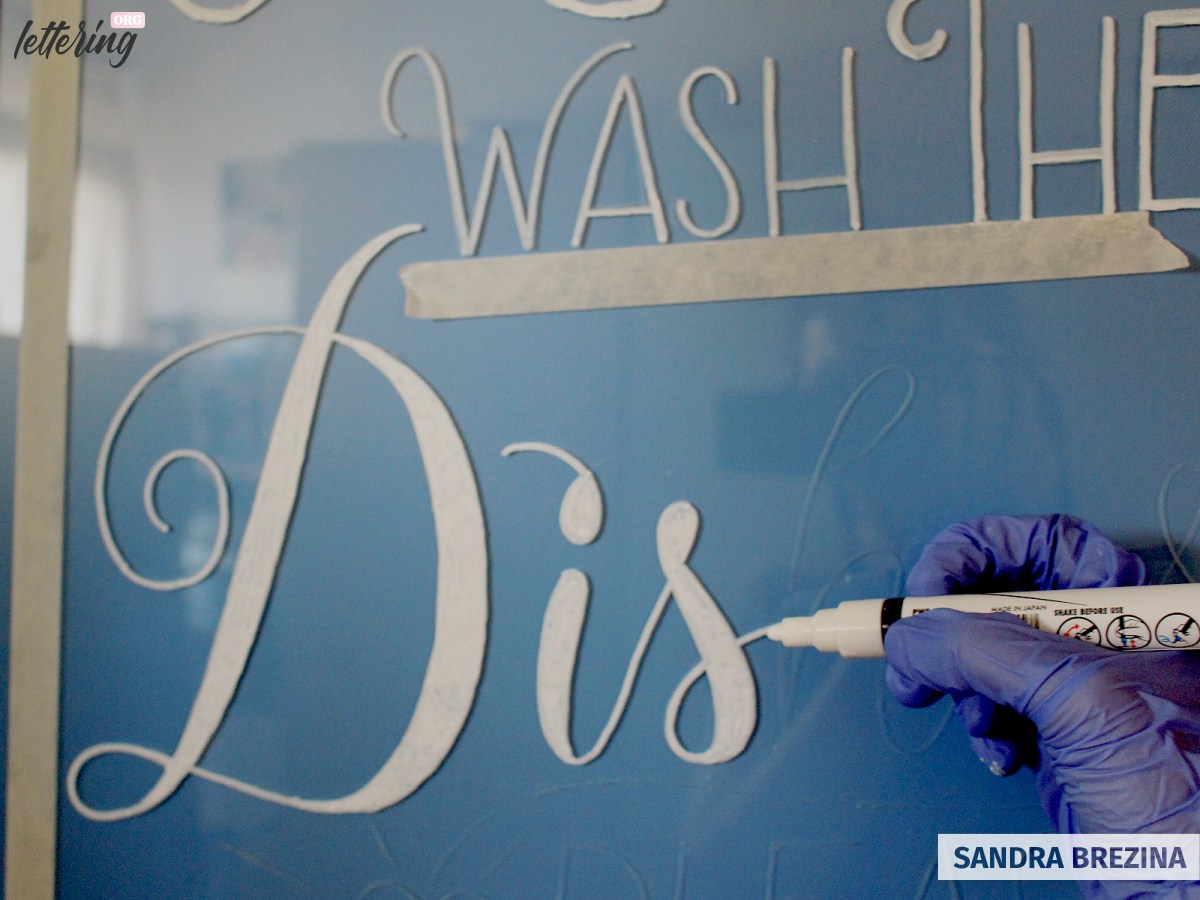
My tip: If you love faux calligraphy, you have to work quickly to fill in your thick strokes.
Create your thicker strokes as you go. If the paint dries, a double layer may scratch your paint. Try to create quick feather-like strokes.
Keep in mind: If you touch and smudge wet paint, wait until it is dried and remove your mistakes with a cotton swab.
Stippling is a nice technique to fill in shapes and produce an interesting texture.

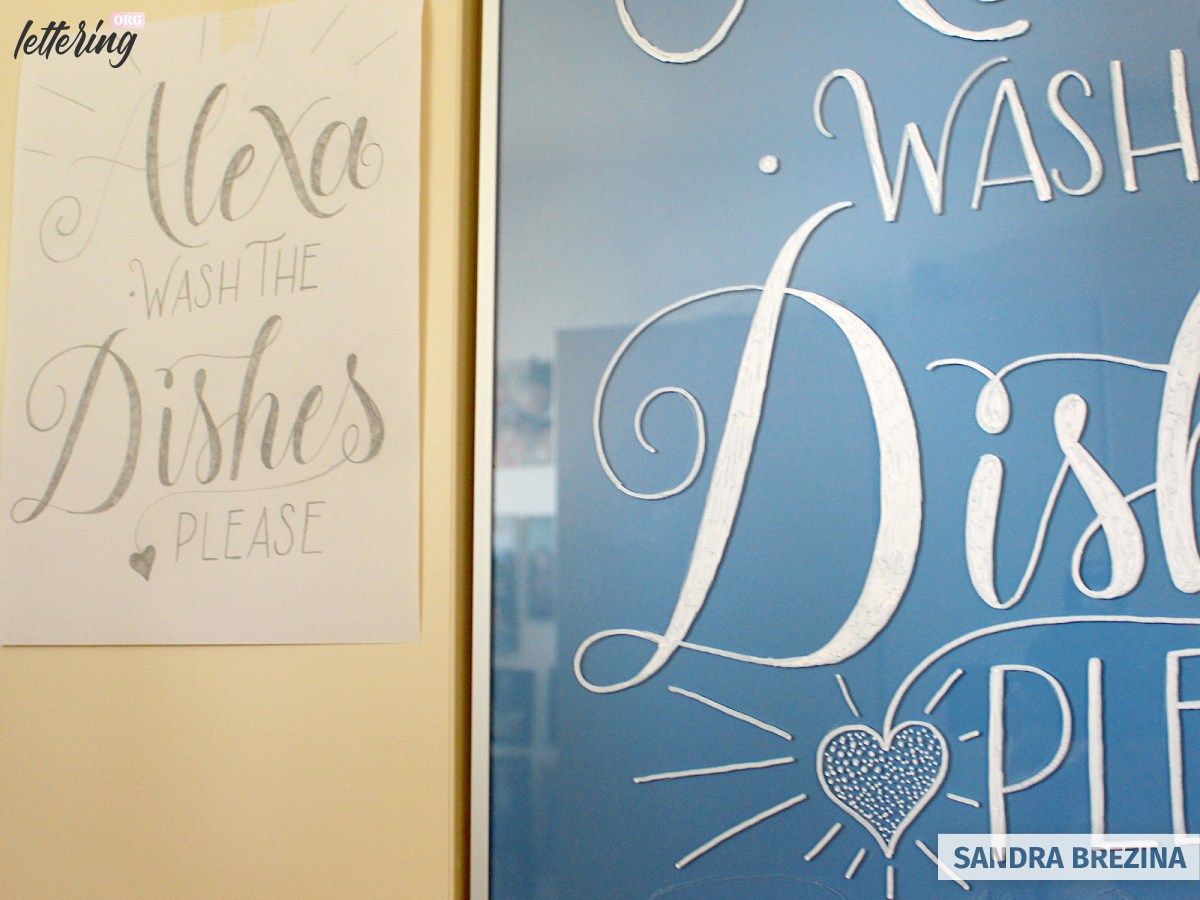
Just one final step
Finally, step back and take a close look at your lettering. Is there any space that needs some filling with lovely details? Do you have to make any adjustments?
Illustrations are nice add-ons to your lettering.
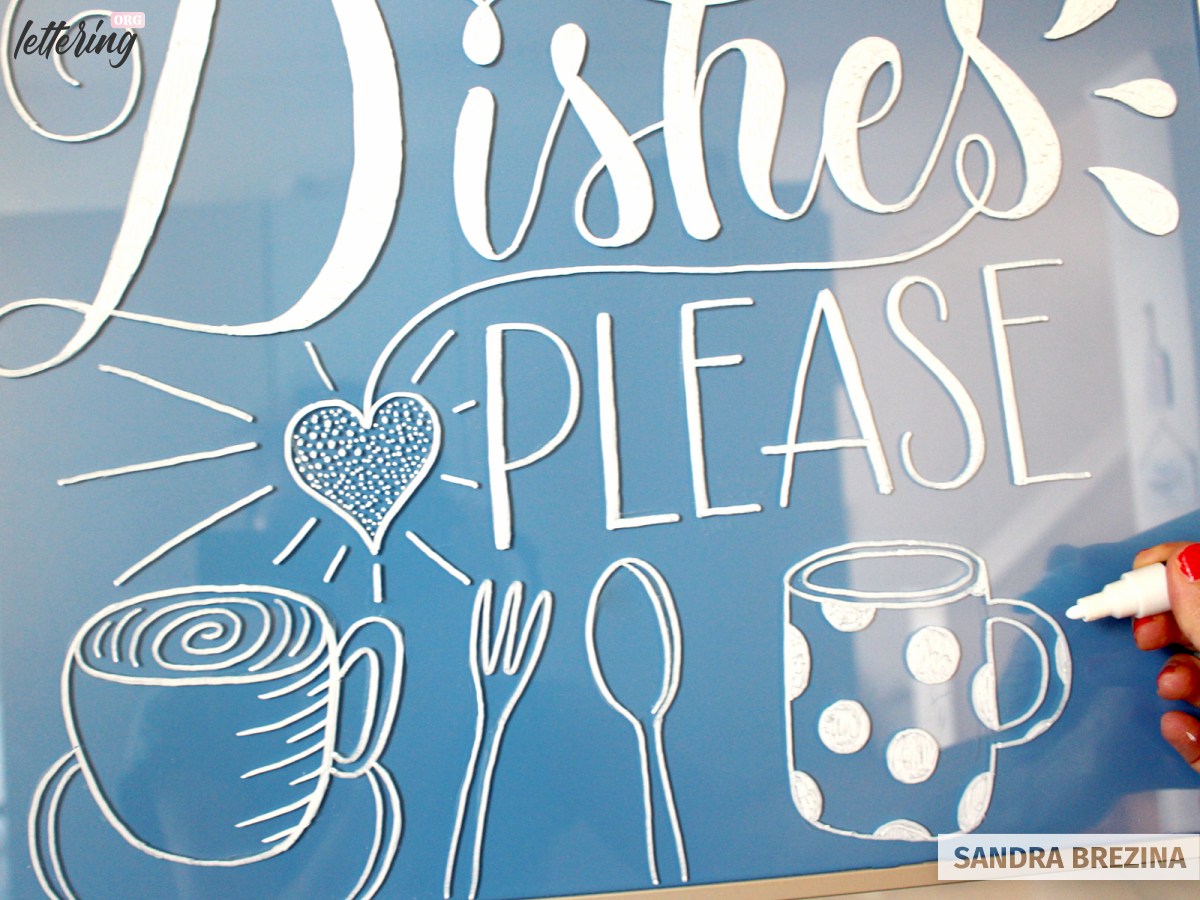
Yeah, your project with extraordinary hand lettering on a big glass object is completed! Be proud of your work.
Approach 4: Reverse hand lettering on a window
Develop your sketches on paper
For this project, we will move to a regular double glazed window and decorate it with a beautiful lettering inspired by the summer season.

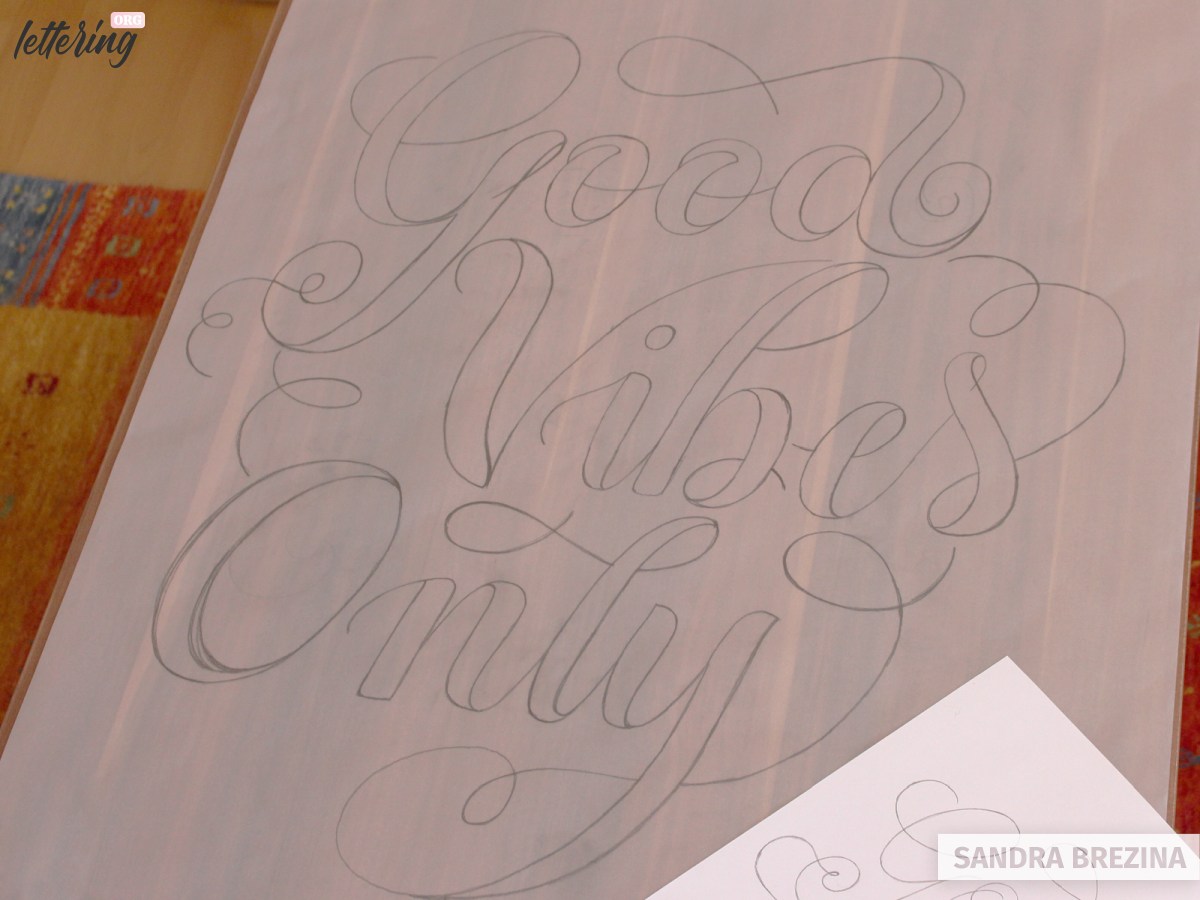
Measure your window first. I elaborate small rough sketches and enlarge my final lettering design by eyeballing all details.
Then, I redraw just my lettering on tracing paper according to the required size. My window measures 77 x 100 centimeters.
What you need
- Sakura Pen-touch or acrylic markers or chalk markers*
- Rubber gloves
- Microfibre cloth or paper tissue
- Cotton swabs saturated with nail polish remover containing acetone
- Painter’s tape
- Some kind of glass to test the flow behaviour of your chalk marker
- Tracing paper
*Please read my tips and hints on markers in the introduction. Since I write on the outside, I use an oil-based marker to protect my design against the elements, such as rain and hail.
I want to see my correct design in my flat.
For this reason, I will be executing my hand lettering back-to-front on the outside pane of the window.
But keep in mind: if you do letterings for shopping windows, you will always draw your design back-to-front on the inside pane within the shop to protect your artwork against bad weather, dirt and damage. Your artwork is correctly seen from the outside of the shop.
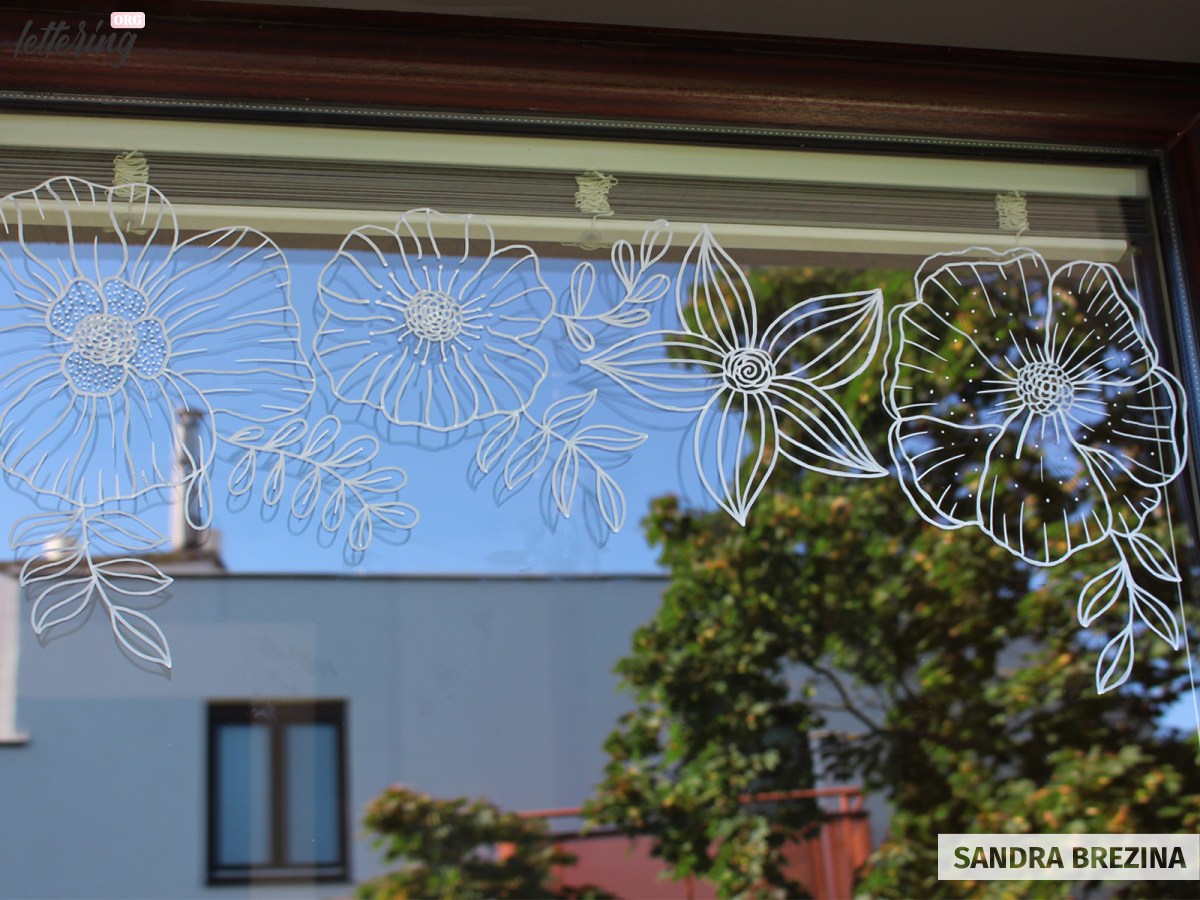
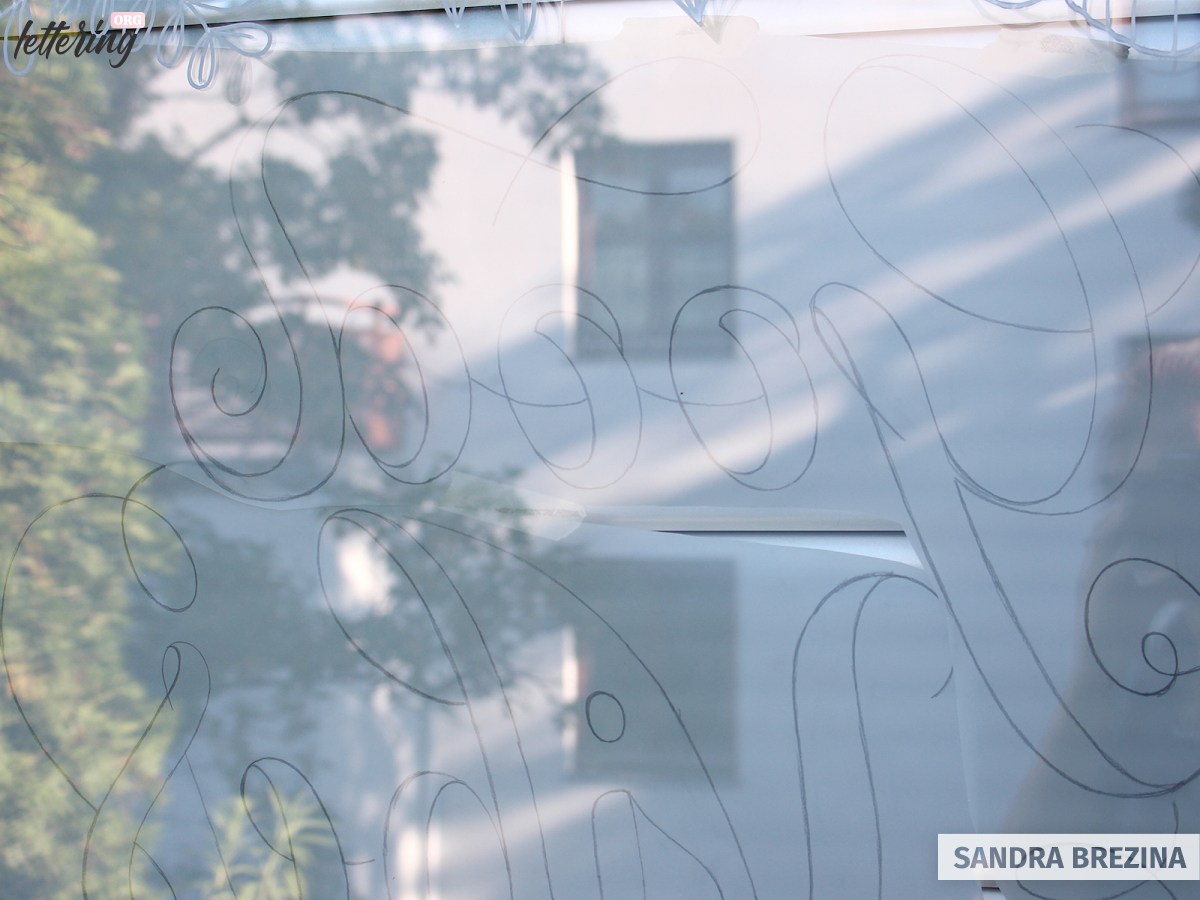
Don’t forget: Put on your gloves. First, I draw my floral elements without using any guidelines. I take my oil-based marker and start to draw on the outside of the window.
I attach the tracing paper on the inside of the window …
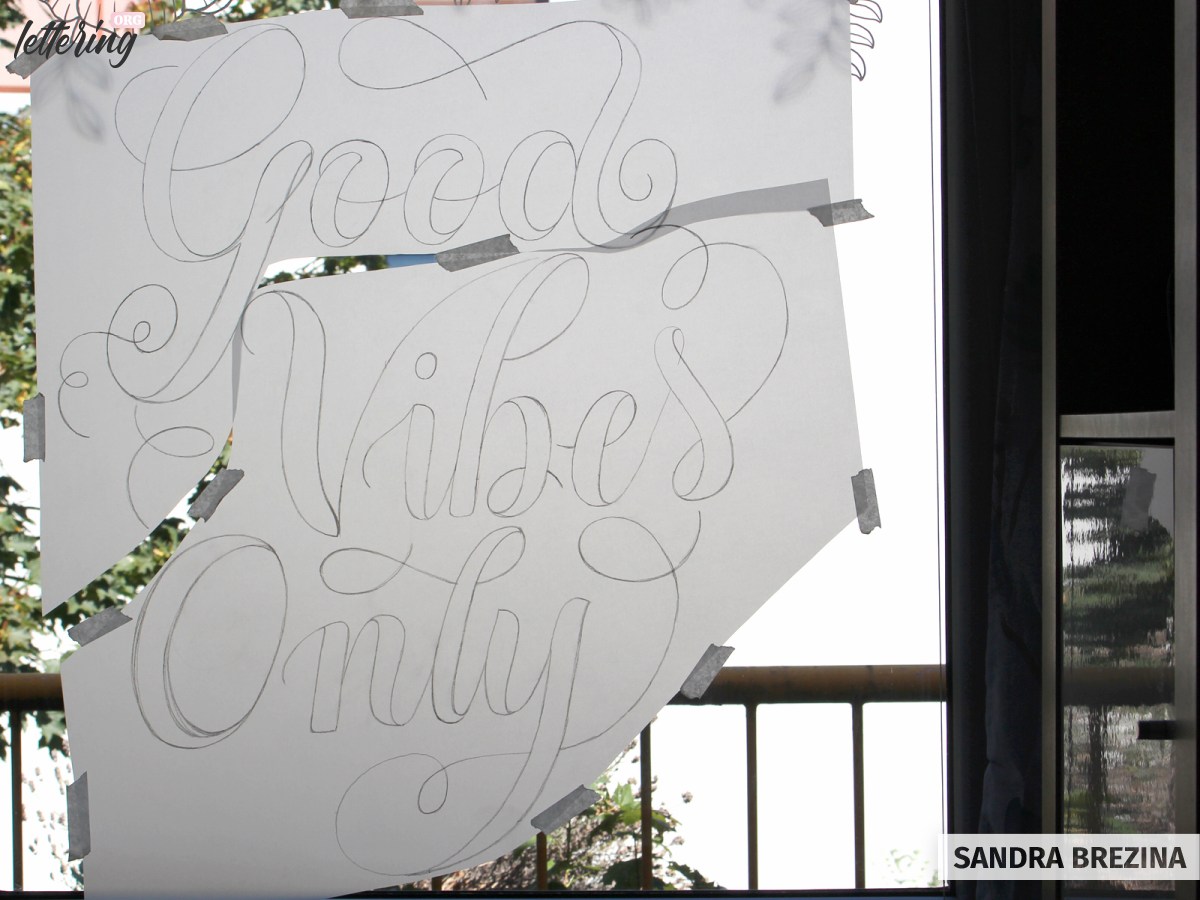
… and have the design back-to-front on the outside pane where I start to redraw my hand lettering.
For this process, I switch to acrylic markers. The oil-based markers are great, but it is not that easy to remove mistakes. Soaking cotton swabs with acetone is quite time-consuming.
Due to the window’s double glazing, you may be confused because of the slightly distorted lines. Never look at your letters from a side angle.
Focus on each letter directly from the front and keep the same view during the entire process!
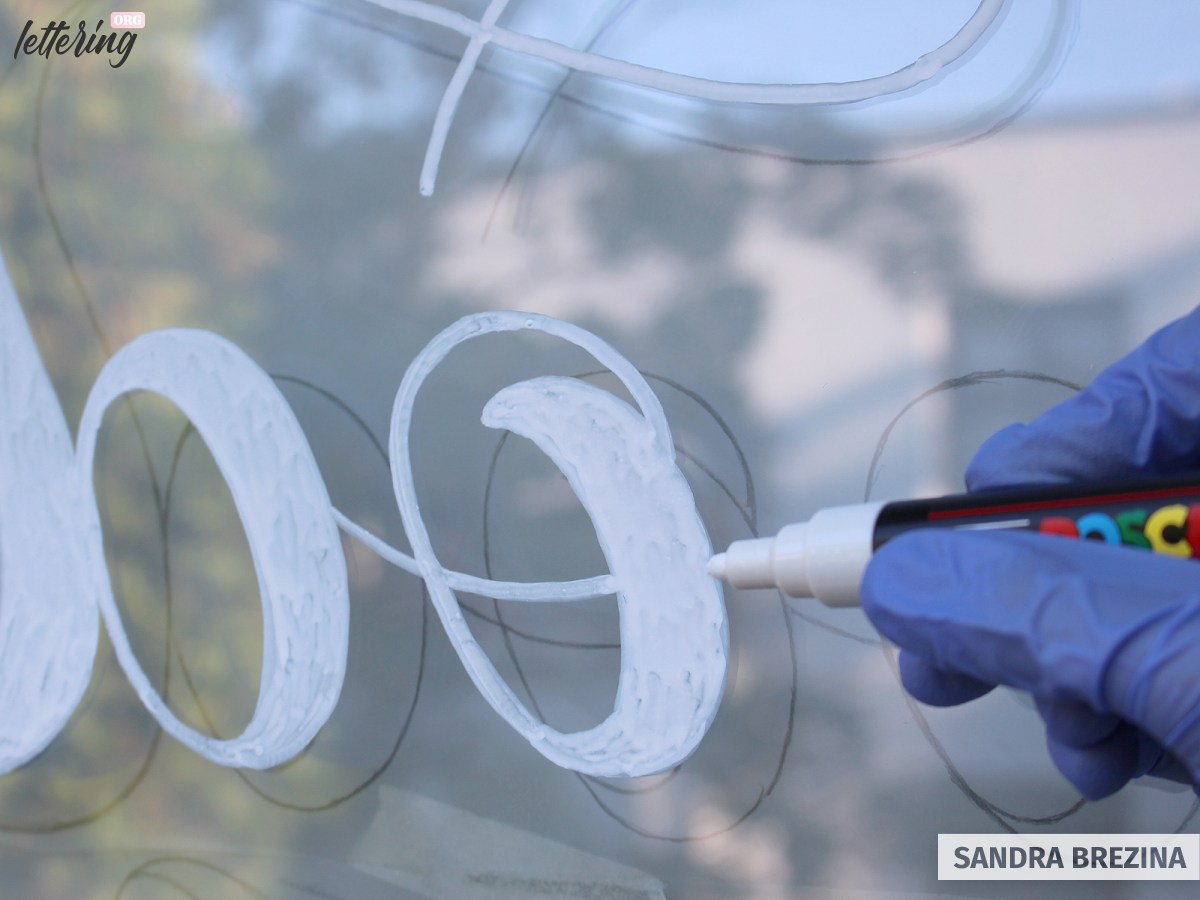
Always draw from left to right to avoid to touch and smudge wet paint.
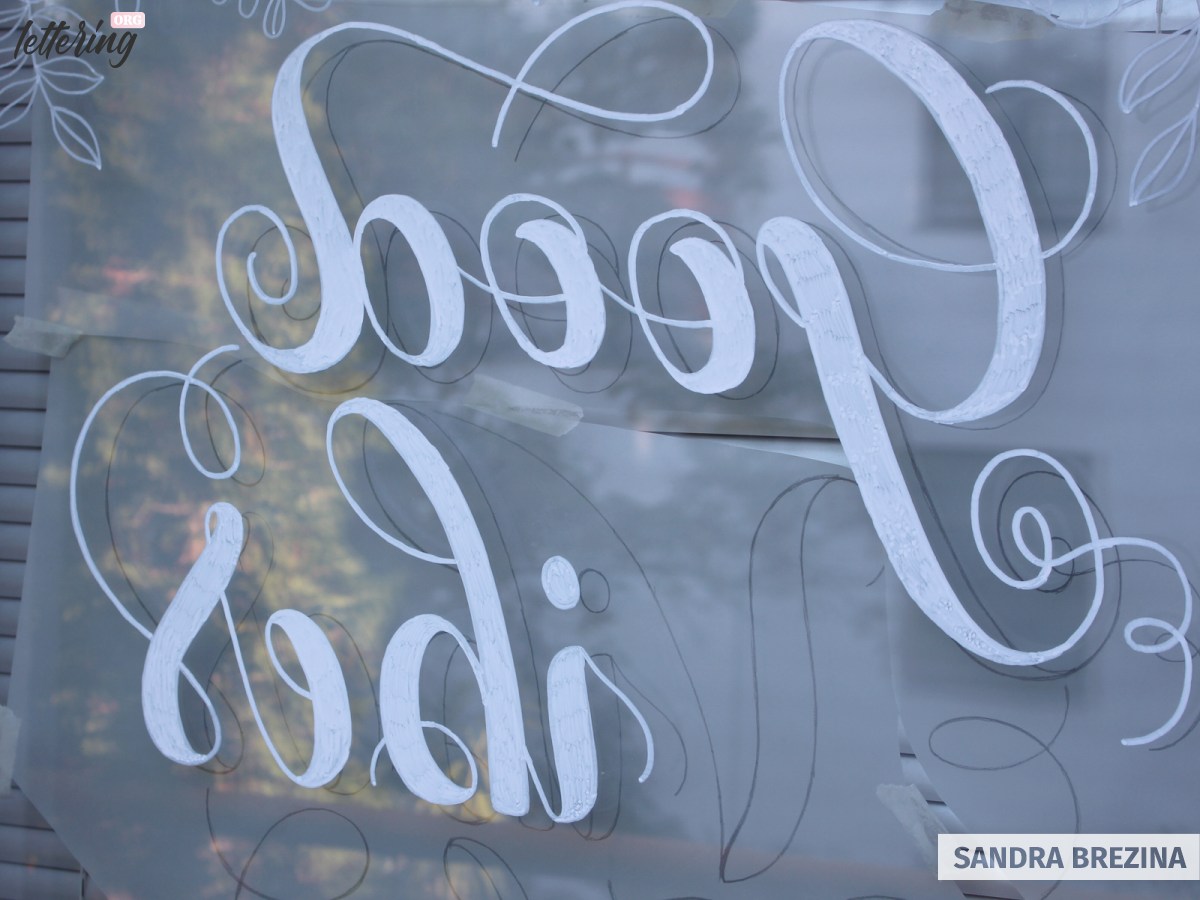
Once the painting is complete, remove the sketch and enjoy this magical moment.
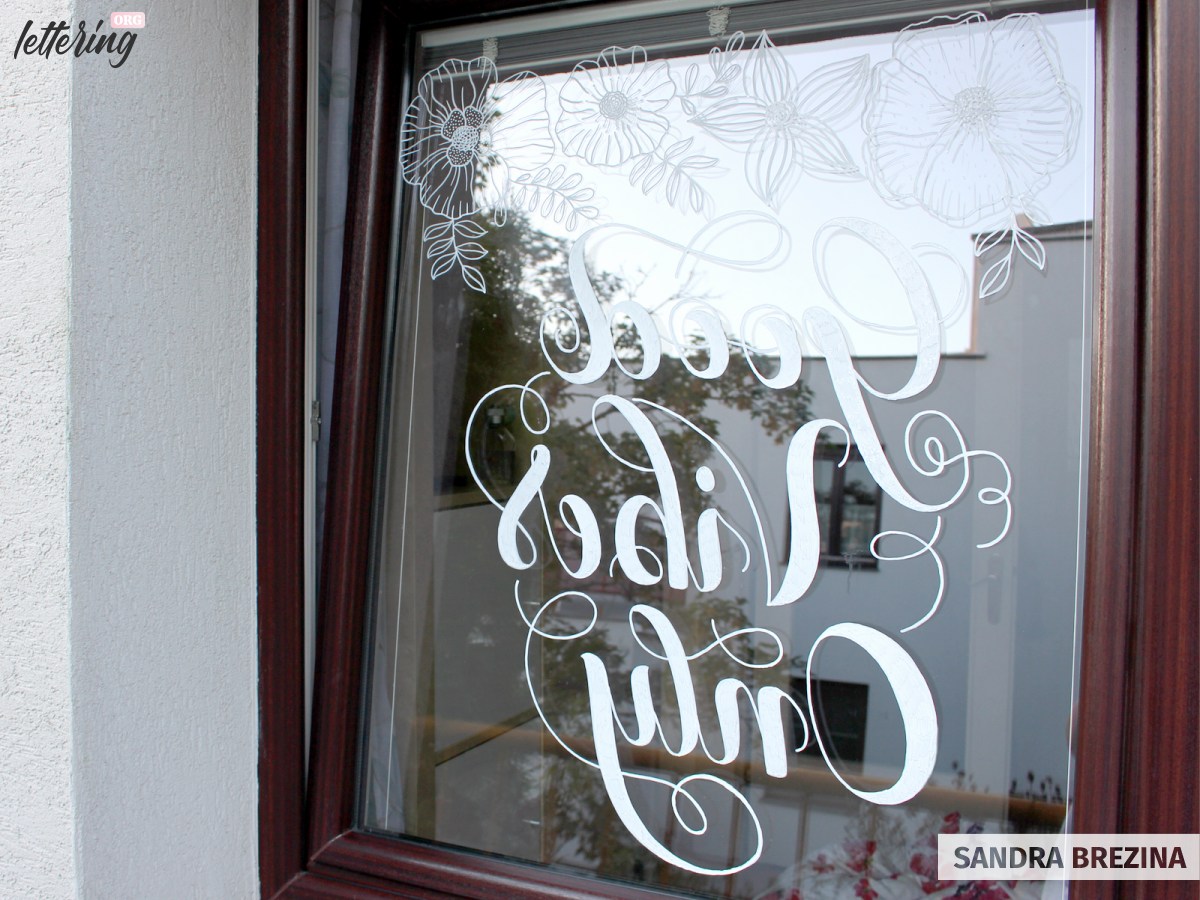
This is how the letterings looks like at night:
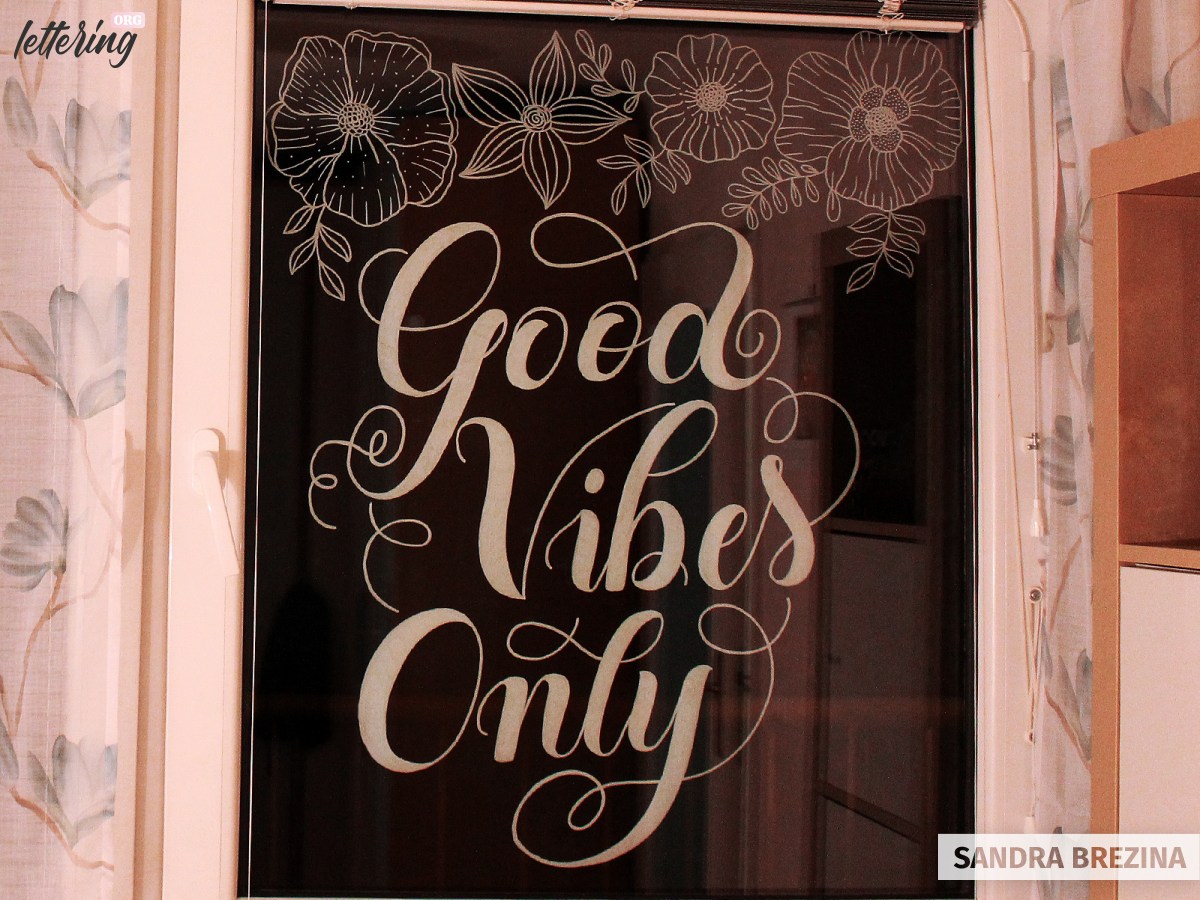
And this is how it looks at daytime:
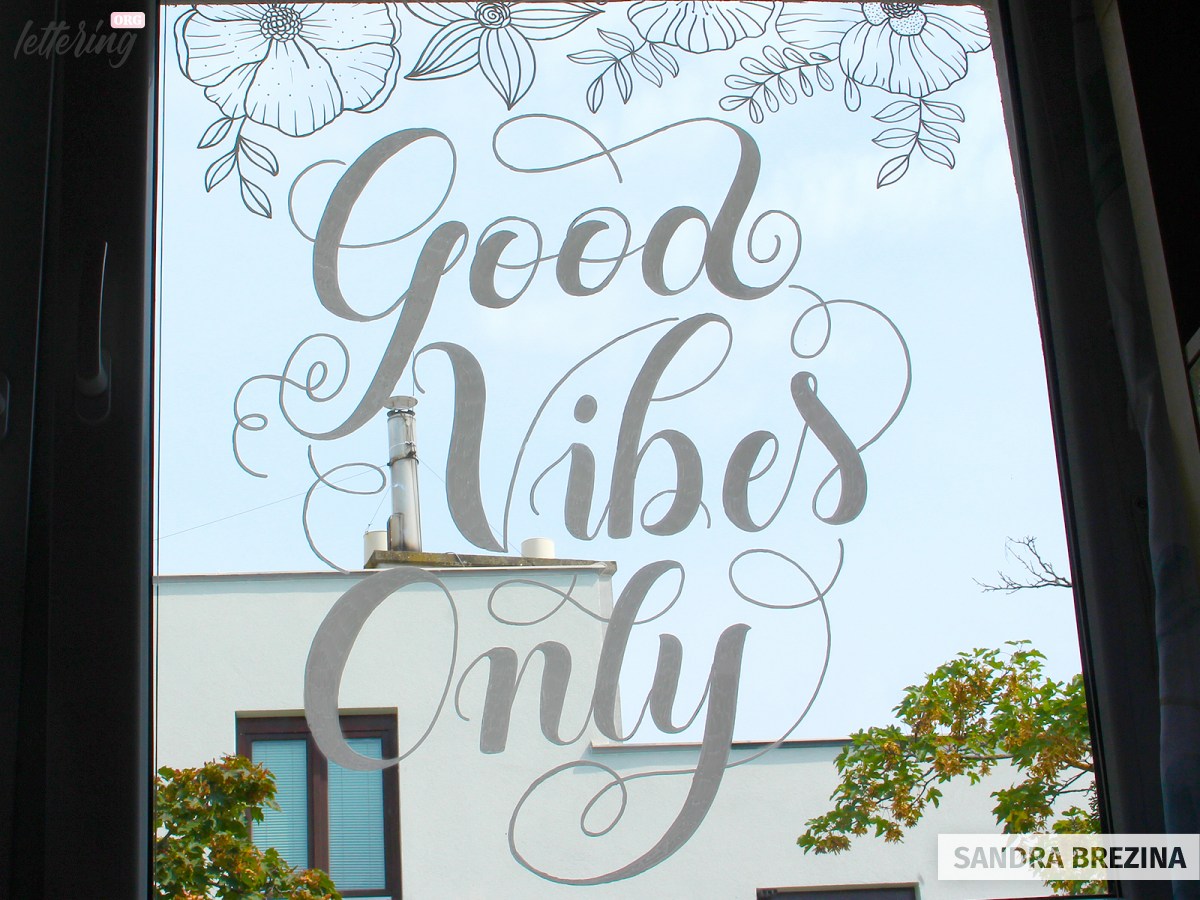
Congratulations! You have done an amazing job 🙂
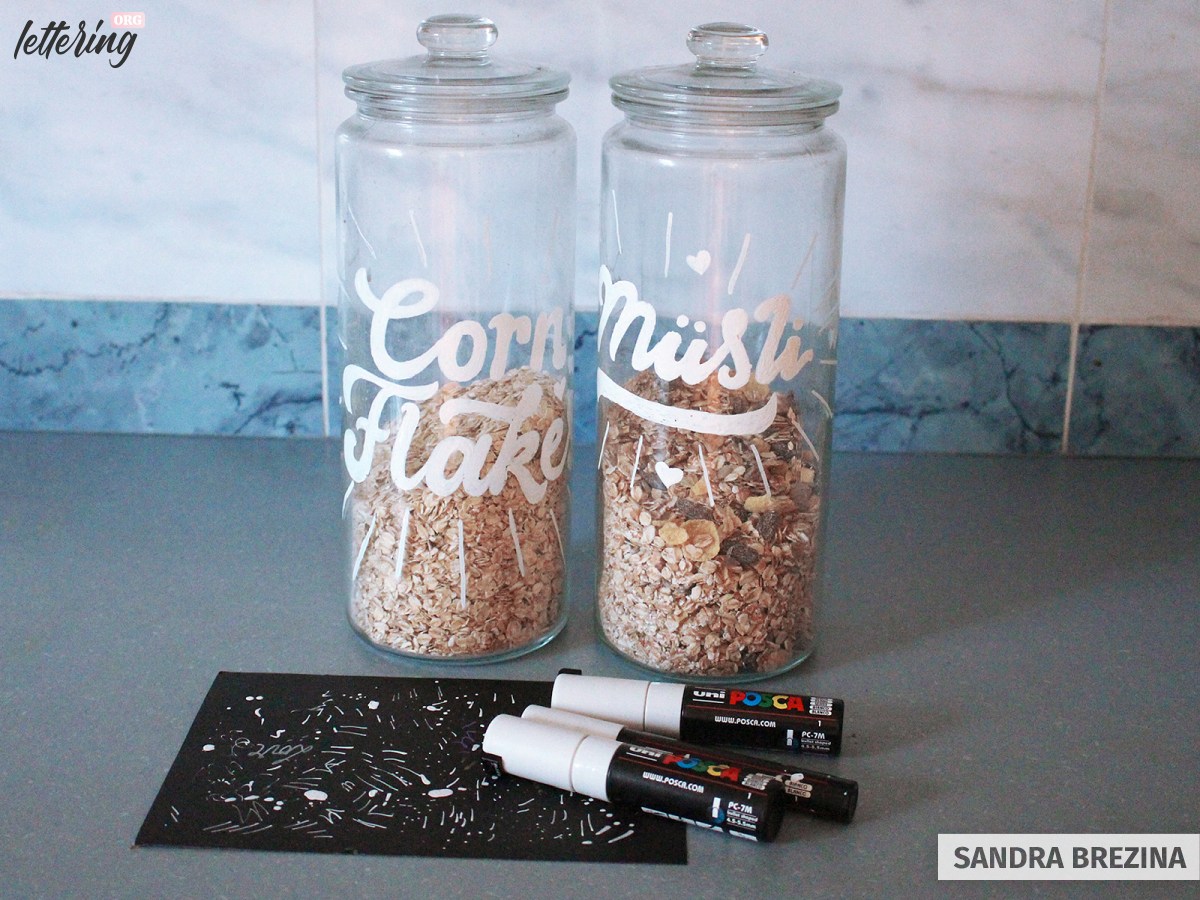
If you hesitate
Maybe you hesitate to start on a large format like your window. If this is the case, grab a glass jar from your kitchen and prove your lettering skills on it to turn it into a personal piece with an amazing touch.
Final words
I hope you enjoyed reading this tutorial and learning my tricks and personal ways of converting mirrors, windows and larger glass objects into unique hand lettered pieces of art.
Have fun and be inspired to let your hand lettering shine on glass. Stay amazing!