Drawing bubbly letters is so much fun! Today I will show you how to create charming letters which look really fluffy and bubbly. Some simple tricks will make the letters look nice and realistic.
I have drawn hundreds of bubbly letters in the past. Let me teach you how to do it fast and easy! Let’s dive right in.
Contents
What you need
Bubble lettering is more about the right technique than about using many materials. You can start with just:
- A simple pencil and a rubber
- A fineliner
- Some colored pencils (optional)
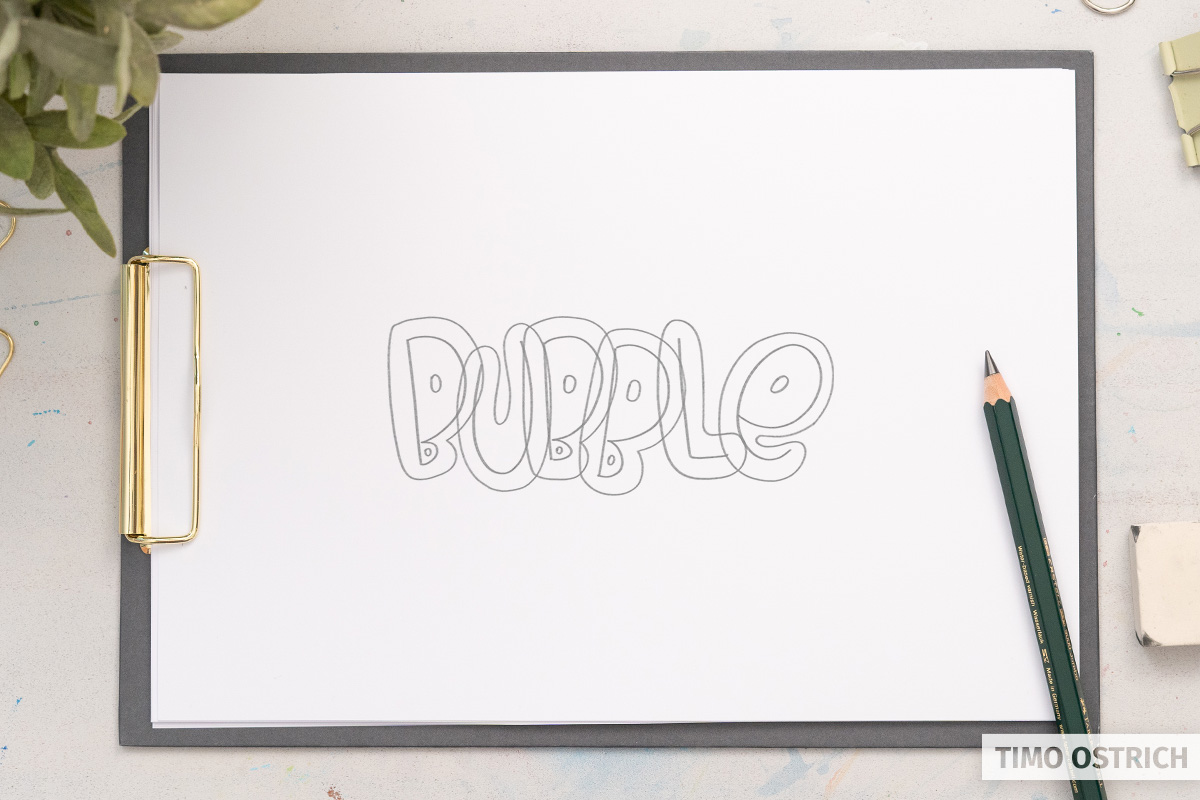
Create the basic lines
The first step is to write your desired word in a monoline font. Sounds easy but this part is very important.
The look of your lines will define the appearance of your whole bubble lettering.
Let’s use the word “bubble” for this tutorial (what else?). Try to draw playful and rounded letters instead of sharp edges. Rotating each letter by a few degrees will help to make your lettering look more dynamic.
If you need some help on this step just generate the text using the lettering generator (you can even make any letters bounce using the app).

Attention: Make sure that you can still recognize the letters.
It’s okay to have the letters close to each other. We will make them overlap later on.
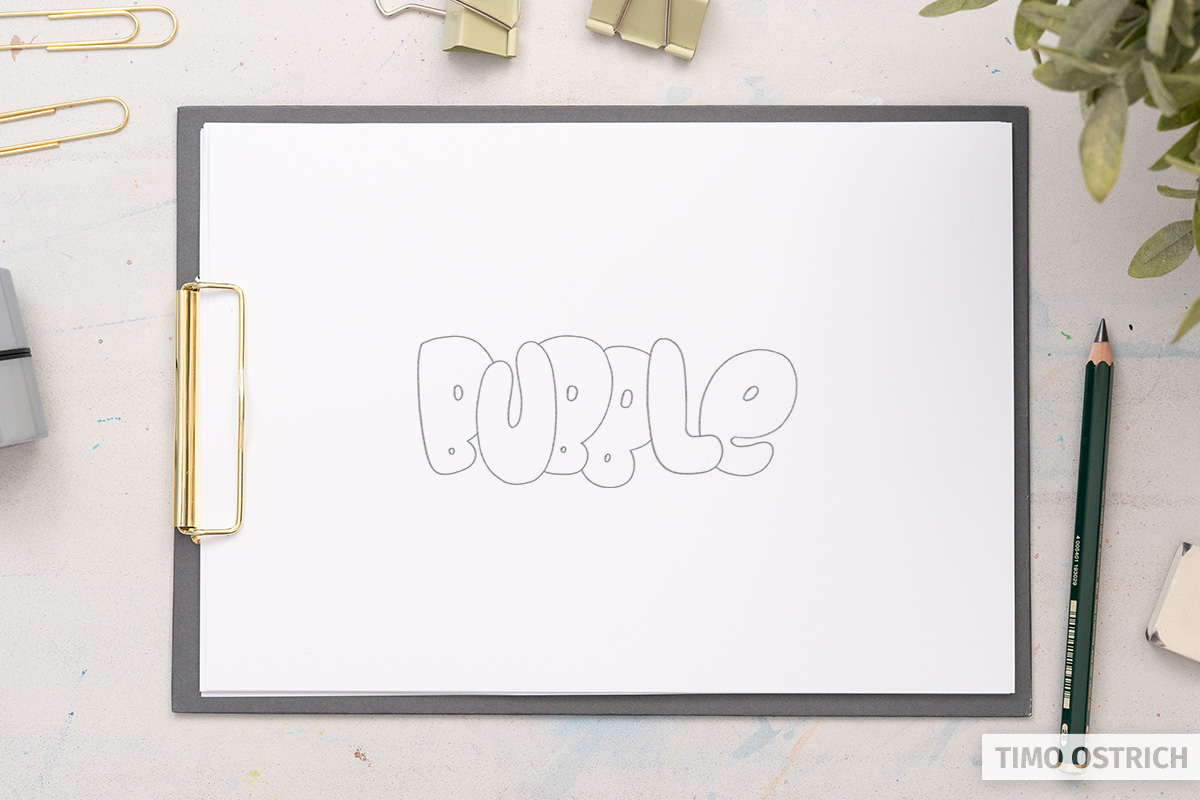
Draw the bubbles
The next step is to outline every letter. Think of ballons and soap bubbles while doing that. They are very rounded and when you try to shape them their outlines stay smooth and rounded.
The smaller the inner part of your letter (also called counter) the more bubbly it will look. You can also change the look of the counter. For our tutorial we will stay with a simple circle.

I love to make the letters overlap because it emphasizes the appearance of bubbles. In this step you can already decide which letters will be in the foreground.
Make it look a little random instead of using the same pattern from left to right. You can achieve that by drawing some inner letters first.
Erase the baseline to get a better look of the letter hierarchy.
Add some reflections
Let’s have a look at the details. One of the most important detail is the typical reflection on a bubble or a balloon. It helps the viewer to get an understanding of the threedimensional shape. Drawing consistent reflections will make your bubble lettering look really professional.
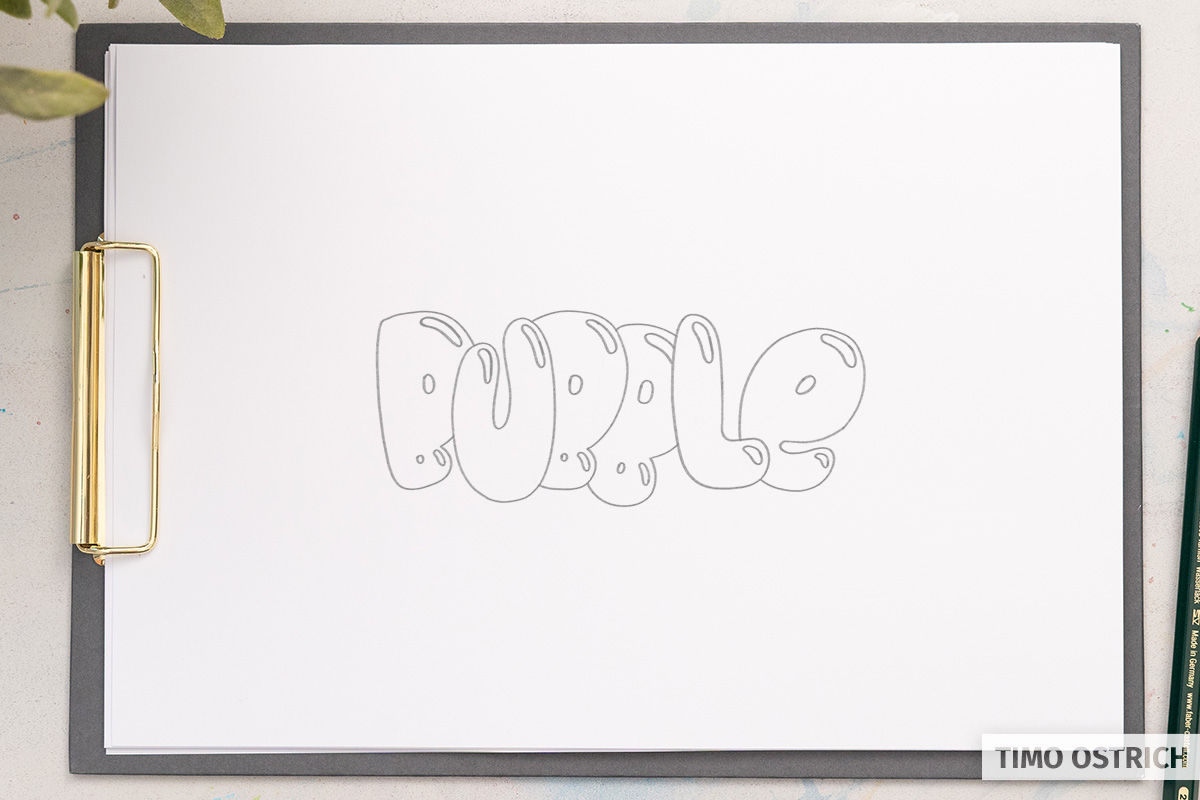
Choose a light source and draw a reflection on every single letter. You can even decide to draw more than one reflection – as long as you keep the consistency.
Finalize the shapes
Finalize the shapes of your bubble letters by tracing the main lines with a fineliner. Use a rubber to erase all unnecessary lines. Looks good, doesn’t it?

You can stop here if you just needed the outlines of a bubble lettering. For example to create a bubble font or something like that. If you want to make your lettering look more colorful just move on to the next step!
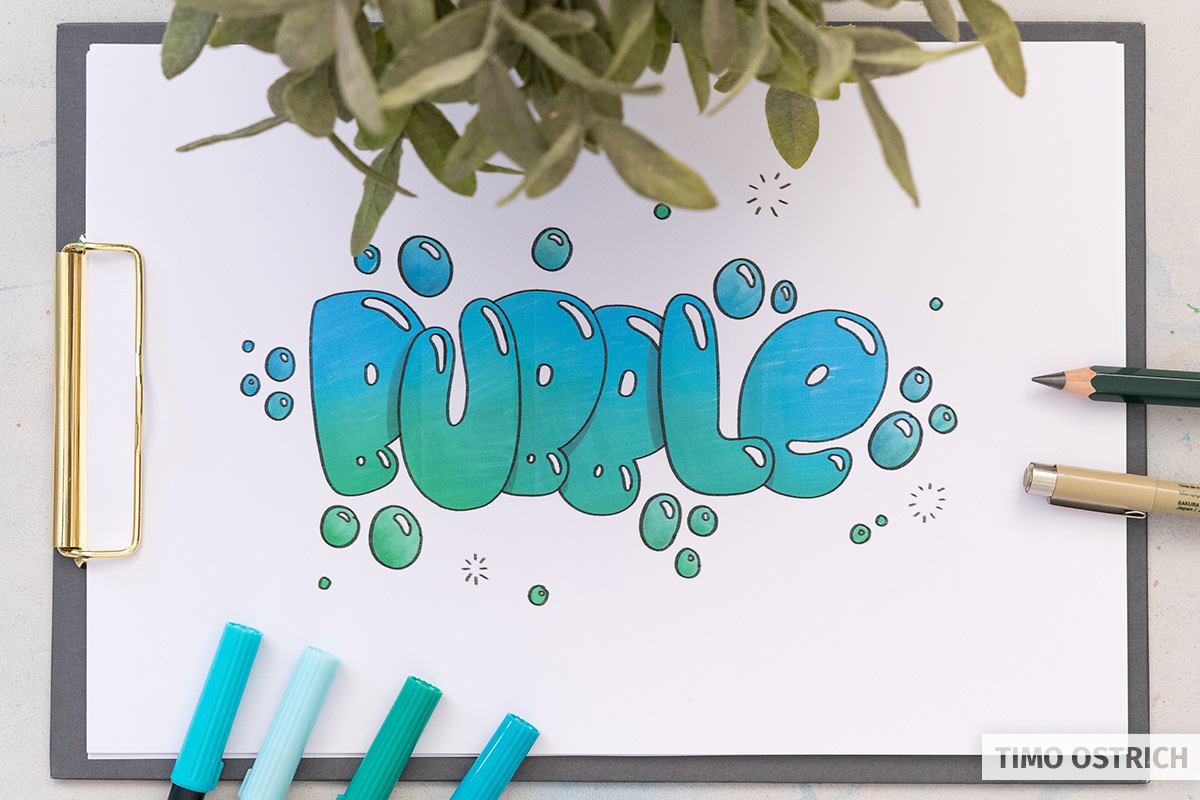
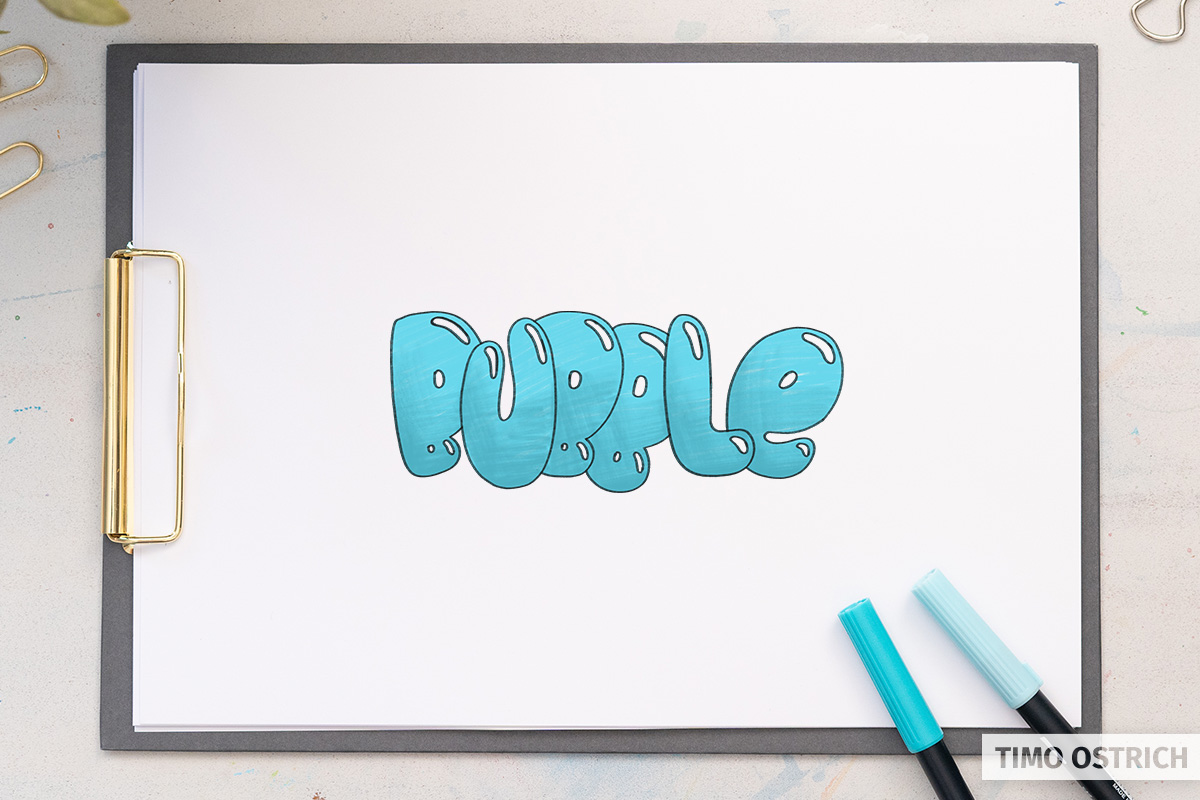
Colorize your bubble lettering
Fill the shapes with some colors. You can even use blending techniques or watercolors to get a great look. Keep the reflections in white. If you used a waterproof fineliner you can paint over the lines without problems.
Adding shadows
As always you can enhance the 3d look by adding shadows. There are two main types of shadows you could draw on your bubble lettering:
- The shadows of the letters which are infront of other letters
- The main shadow that falls on the ground under the whole word
Remember where your light source was. The shadows always have to be on the opposite part of the reflections. It’s all about consistency again. By duplicating the shape of the letters you will create realistic shadows.
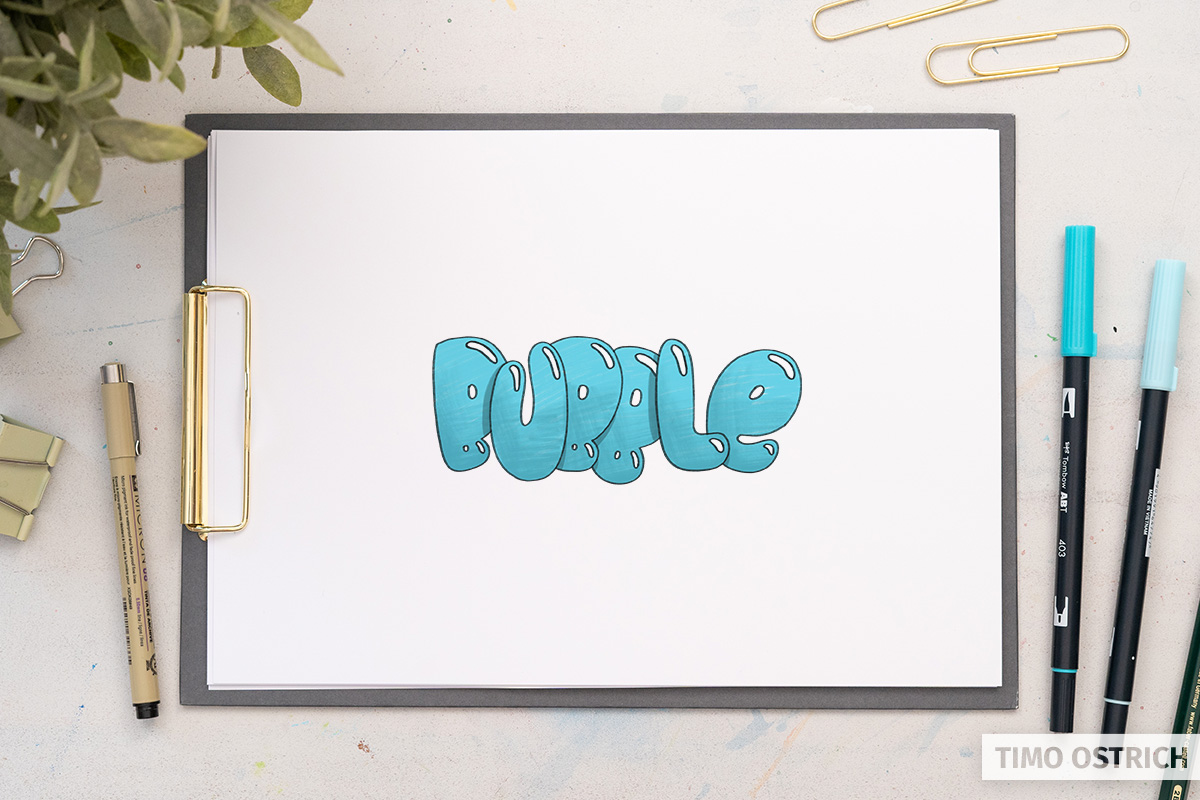
For our lettering we will only go with the “inner” shadows because I want the word to fly in the air instead of standing on the ground.
Decorate the lettering
Adding some decoration is an important part if you want to create an awesome bubble lettering. It will make your lettering look dynamic and unique. Furthermore the decoration helps to make the viewer understand the bubble topic.
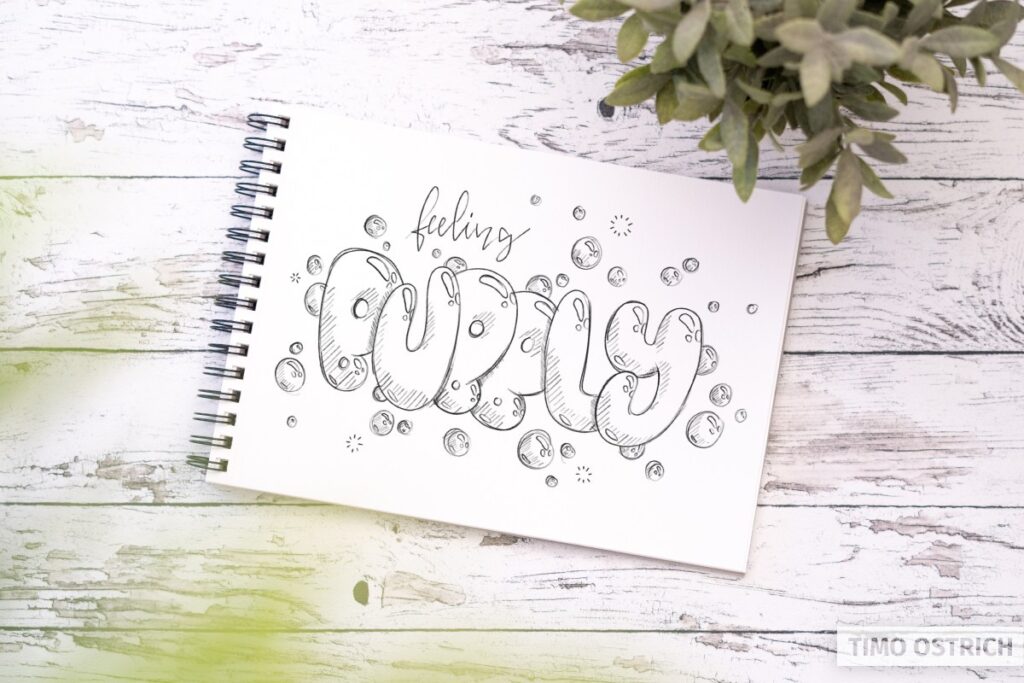
In this case I will just add some simple bubbles all around the lettering. Some of them are even bursting at the moment.
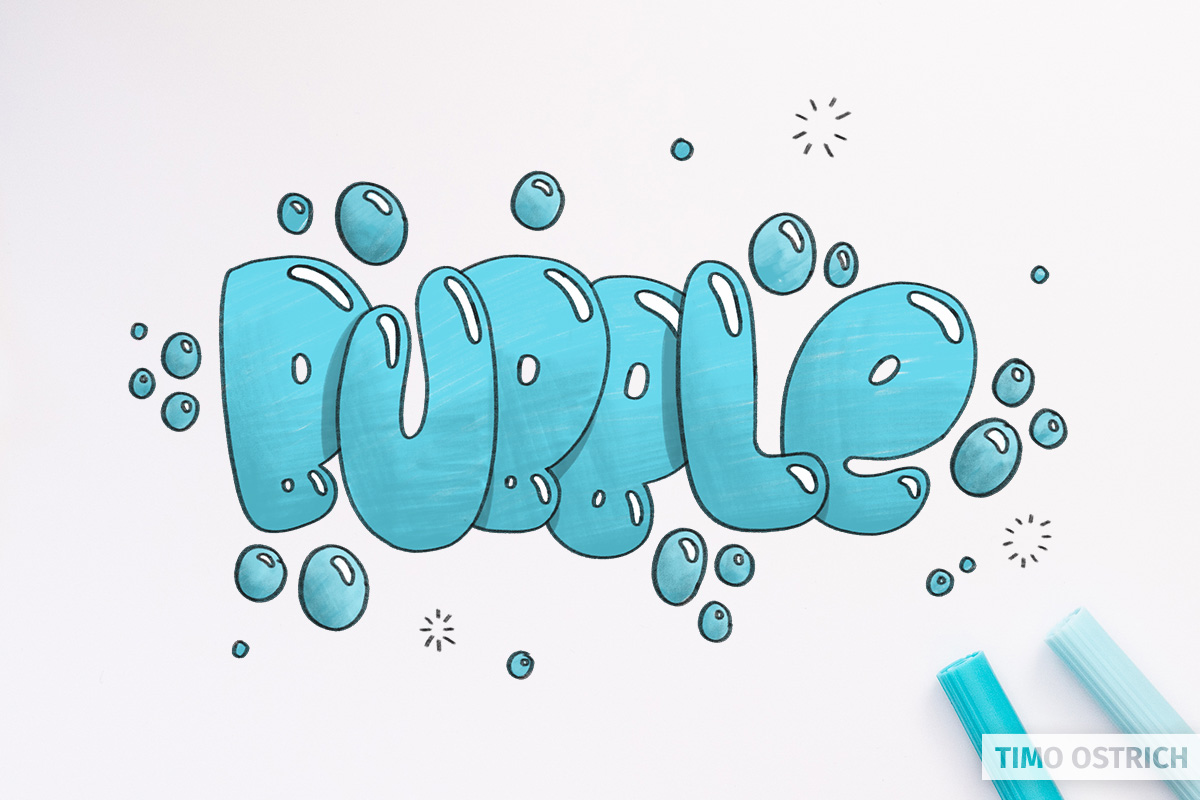
Now that looks really bubbly, right?
Simply keep in mind to fill the whitespace around your word evenly. By keeping the balance between whitespace and drawings your final lettering will look harmonic.
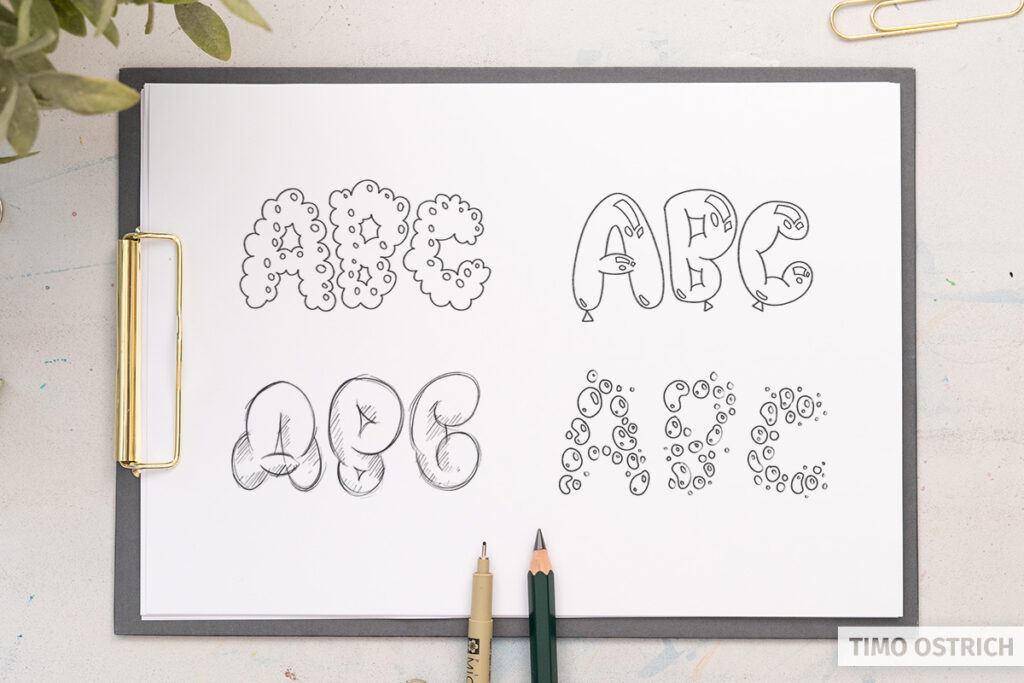
More inspiration
Finally I want to show you some more bubble lettering styles you may want to use. What’s your favorite version? Let me know in the comments!
Buenos días, me gusto mucho como presentaron la explicación, gracias
saludos.. muy buena creatividad
thanks! ^-^