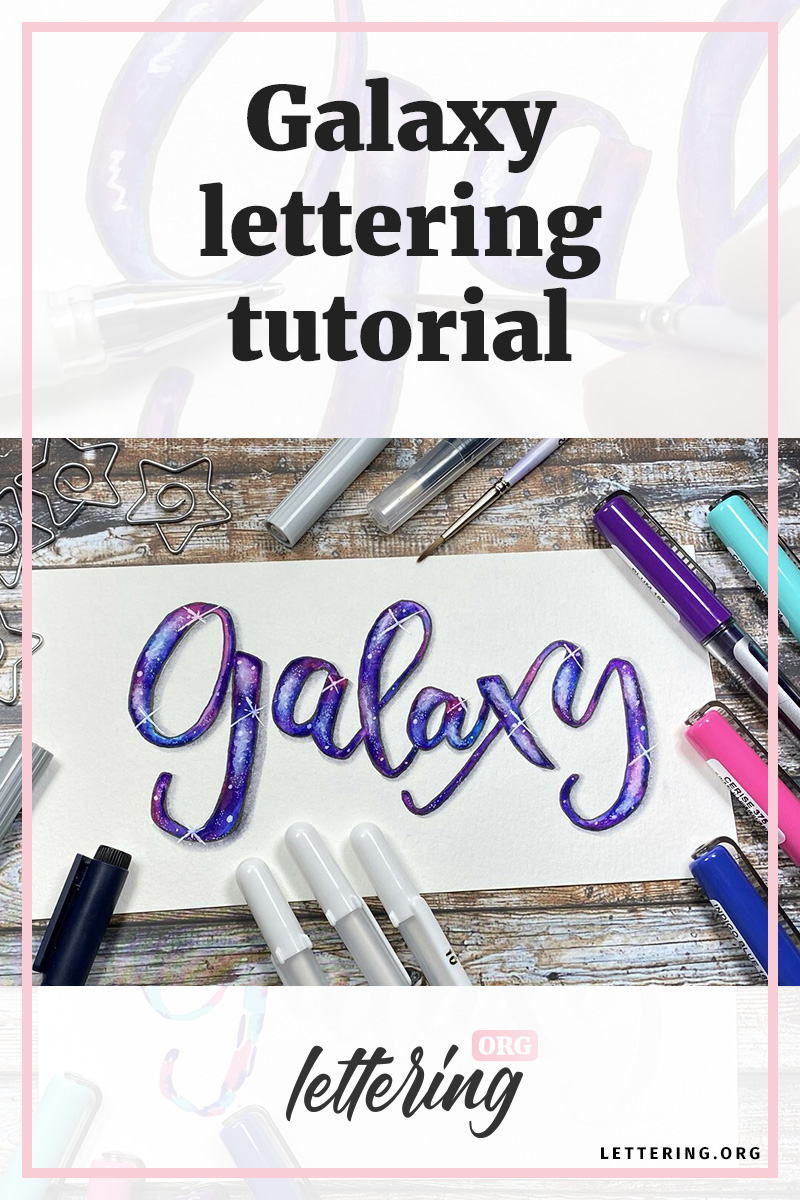
Galaxy letterings are fascinating and real eye catchers. These letterings are great to stand alone
for one-word messages but are also perfect for focusing on particular words in longer
quotes.
I will show you the galaxy lettering technique with a brush pen. But if you prefer to write block
letters or fake calligraphy, no worries. The blending technique is the same – simply start with
step 3.
Contents
What you need
- Watercolor paper (smooth)
- Brush pens: light grey, middle grey, light blue or turquoise, pink, purple and dark blue
- Gel pens white in different sizes, at least one in medium size
- Watercolor brush or water tank brush fine
- Paper towel
- Fineliner black
For this tutorial we will use brush pens to paint our galaxy. If you own high quality watercolor paints and brushes may use them instead of brush pens. You should try both techniques sooner or later.
The basic brush lettering
In this tutorial we will use a brush lettering to start from. Choose a light grey brush pen first. Use the word “Galaxy” like I did or any other word of your choice to add a galaxy blending.
If needed write a pencil sketch first and erase all lines after the ink is completely dried.
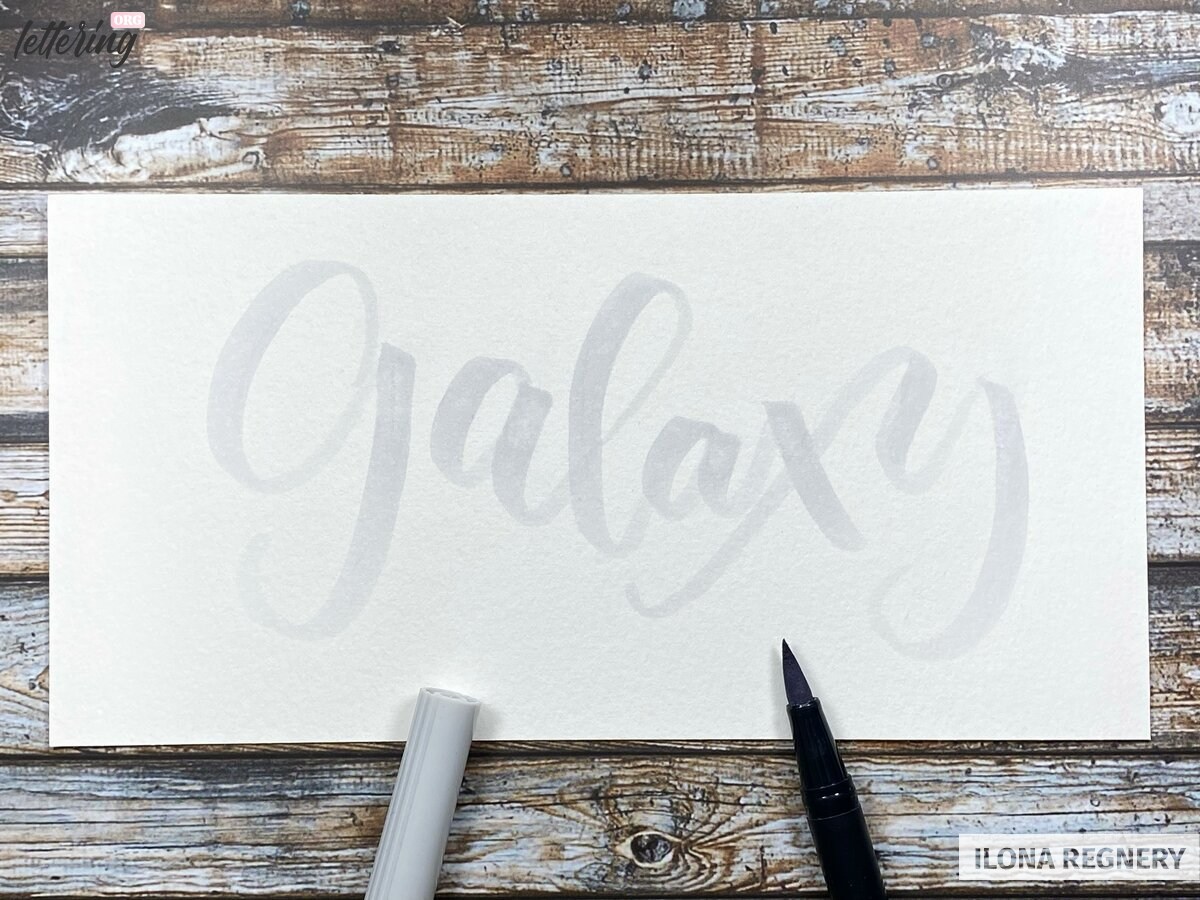
You will get the best results and a nice big area for the blends, if you use a brush pen with a medium or big nib.
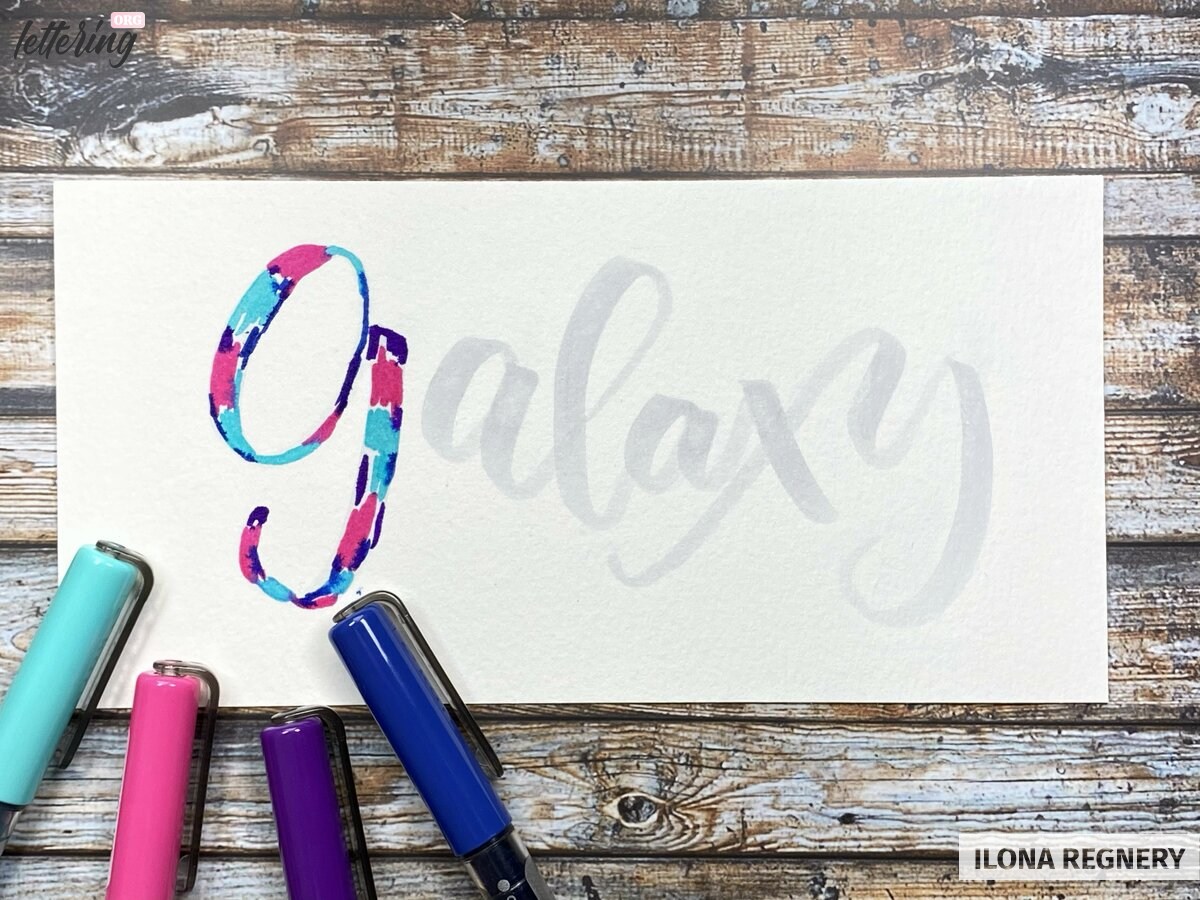
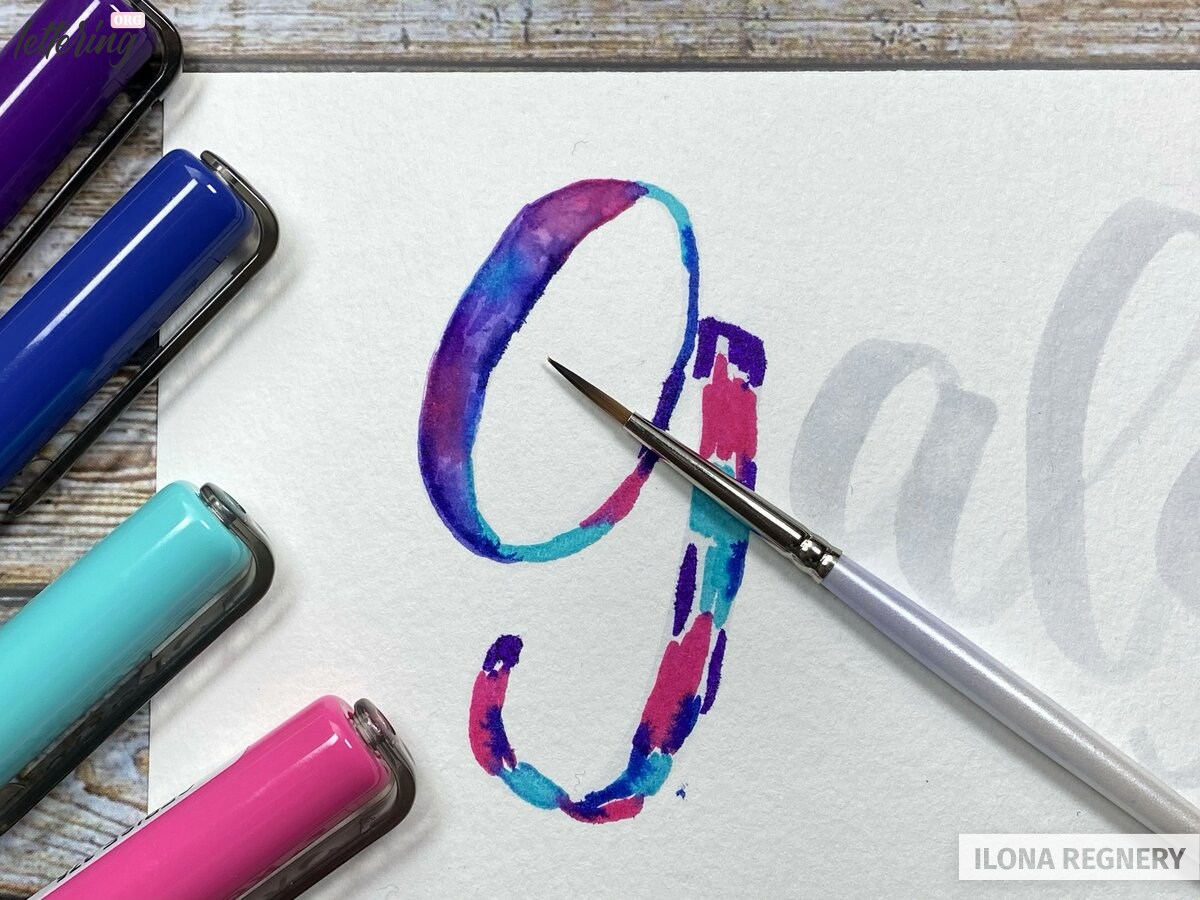
Add colors and blend them together
Use the colors pink and light blue (or light turquoise) and add swatches of them to all parts
of the first letter. You don’t need to follow a pattern nor does it have to look like my example.
That’s the fun part of this technique and makes every piece unique. Simply fill out
the major part with a mix of light blue and pink. Add only few small strokes of purple and
dark blue in between.
These darker colors are rich in pigments, so small strokes are totally enough.
Blend the colors together using a fine semi wet watercolor brush. Start from bright to dark. Allow the darker colors to infuse into the bright areas, if needed add some more water. Blend all colors well together.
Clean the brush between every blending area will help you keeping your pinkish and blue areas bright.
Does an area turns out very dark, you can fix this issue easily. Add a bit water to this area and remove the pigments with a piece of paper towel, a cotton bud or a dry brush.
If your blends look too bright, add carefully a bit of dark blue or purple to a few edges and blend in smoothly. Repeat until you’re happy with the result.
Continue with the next letter of the word. Add the colour swatches first and blend them together. Where letters are connected, blend the colours into the following letter. This will give them a harmonic look.
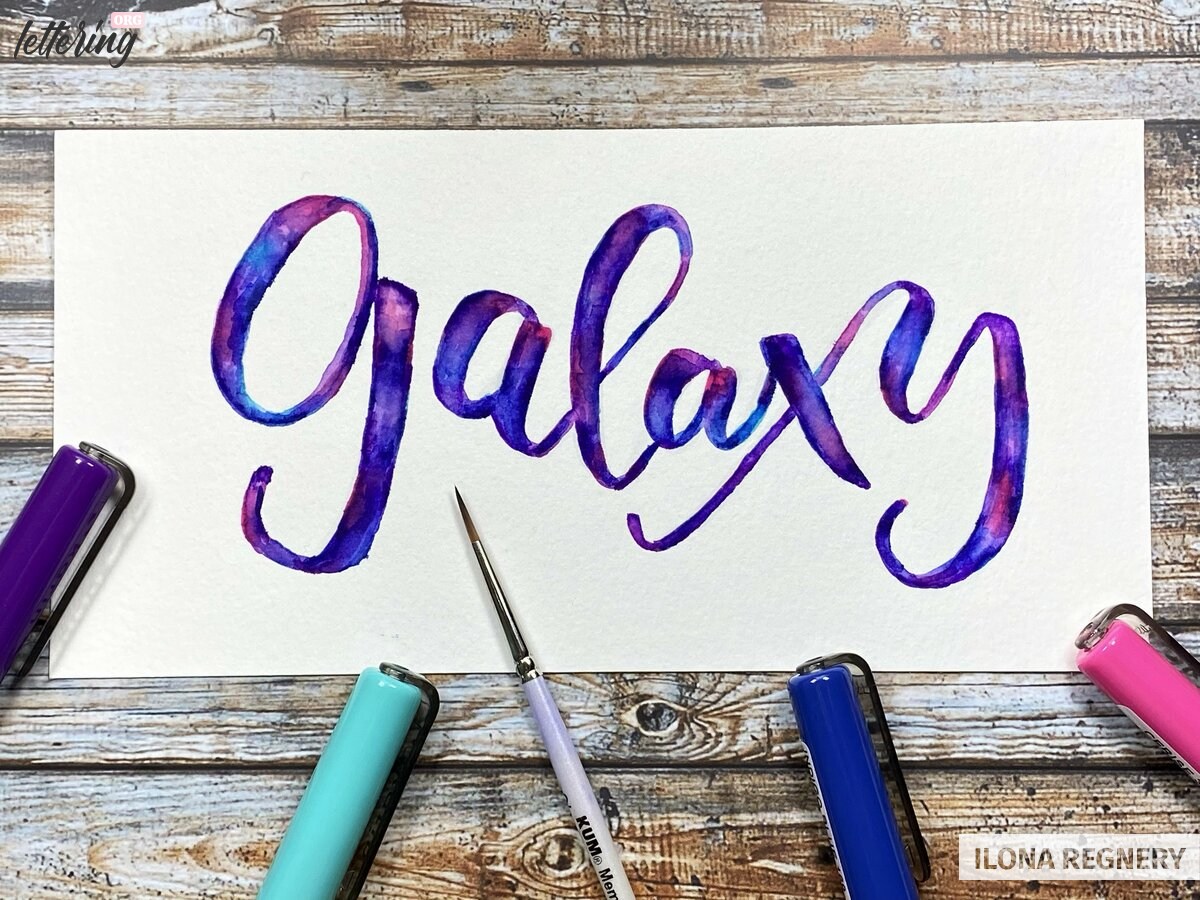
Doing this step letter by letter will help you to elute the pigments easily out of the paper and getting nice blends.
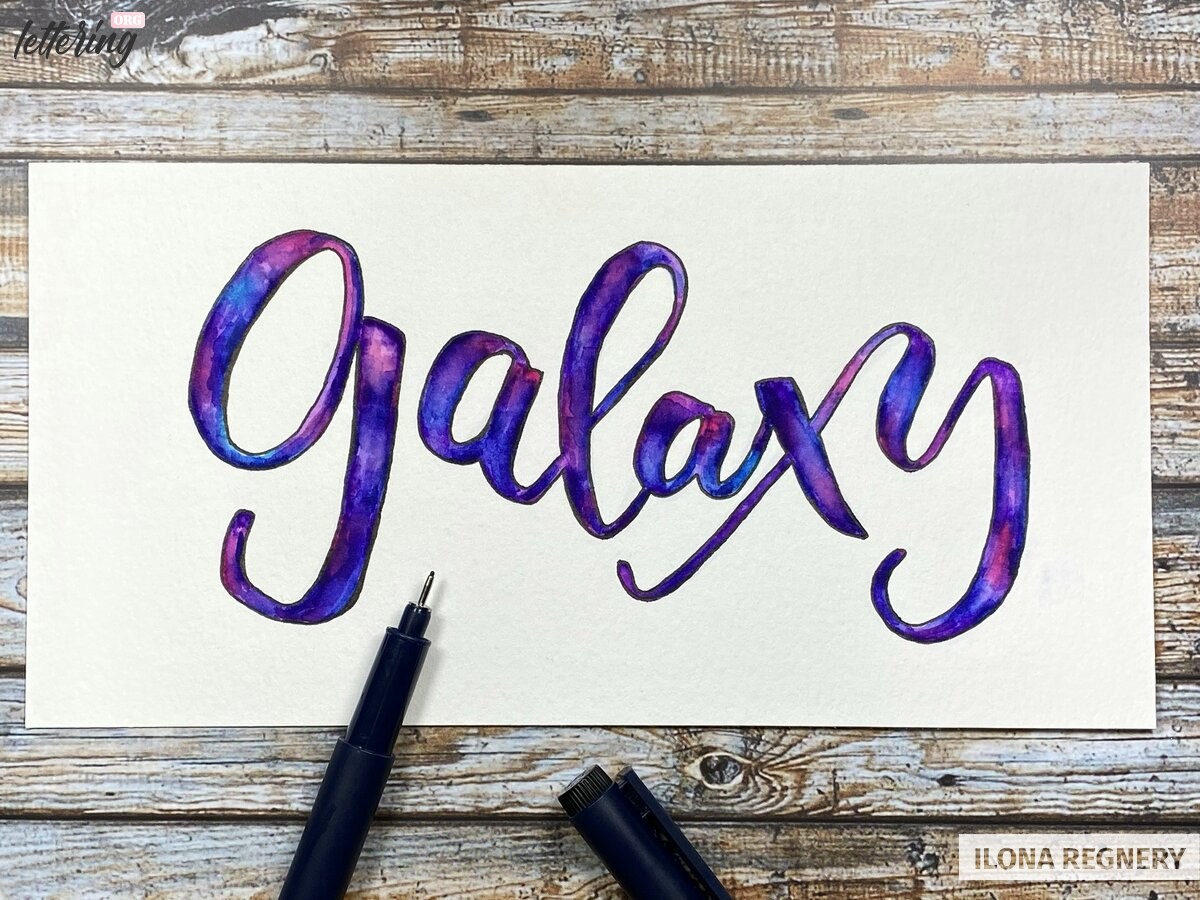
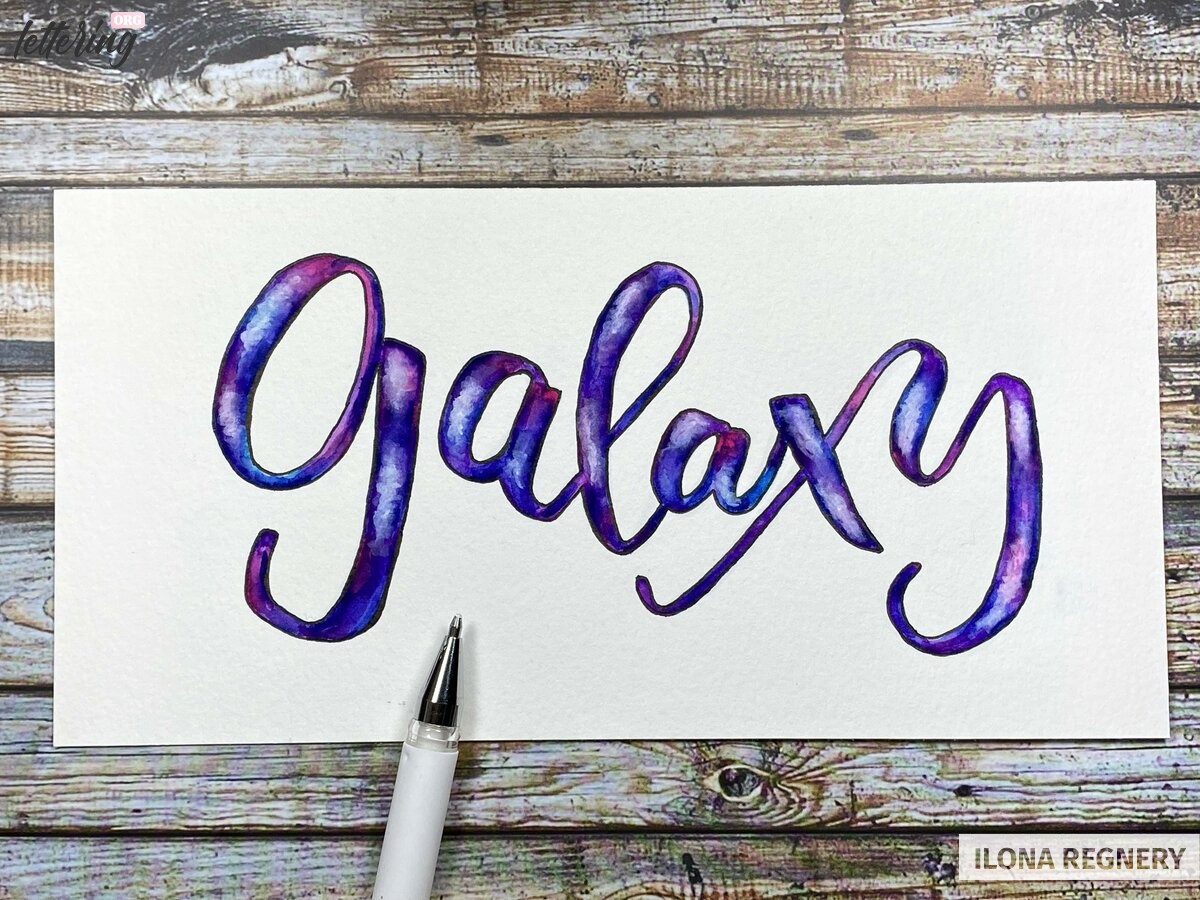
Add outlines
After all colours are dried completely, use a black fine-liner and add outlines to your lettering. This give your letters a smooth look and helps to fix possible little blending accidents at the edges.
If you like, you can also add a thicker black line at the shadow side.
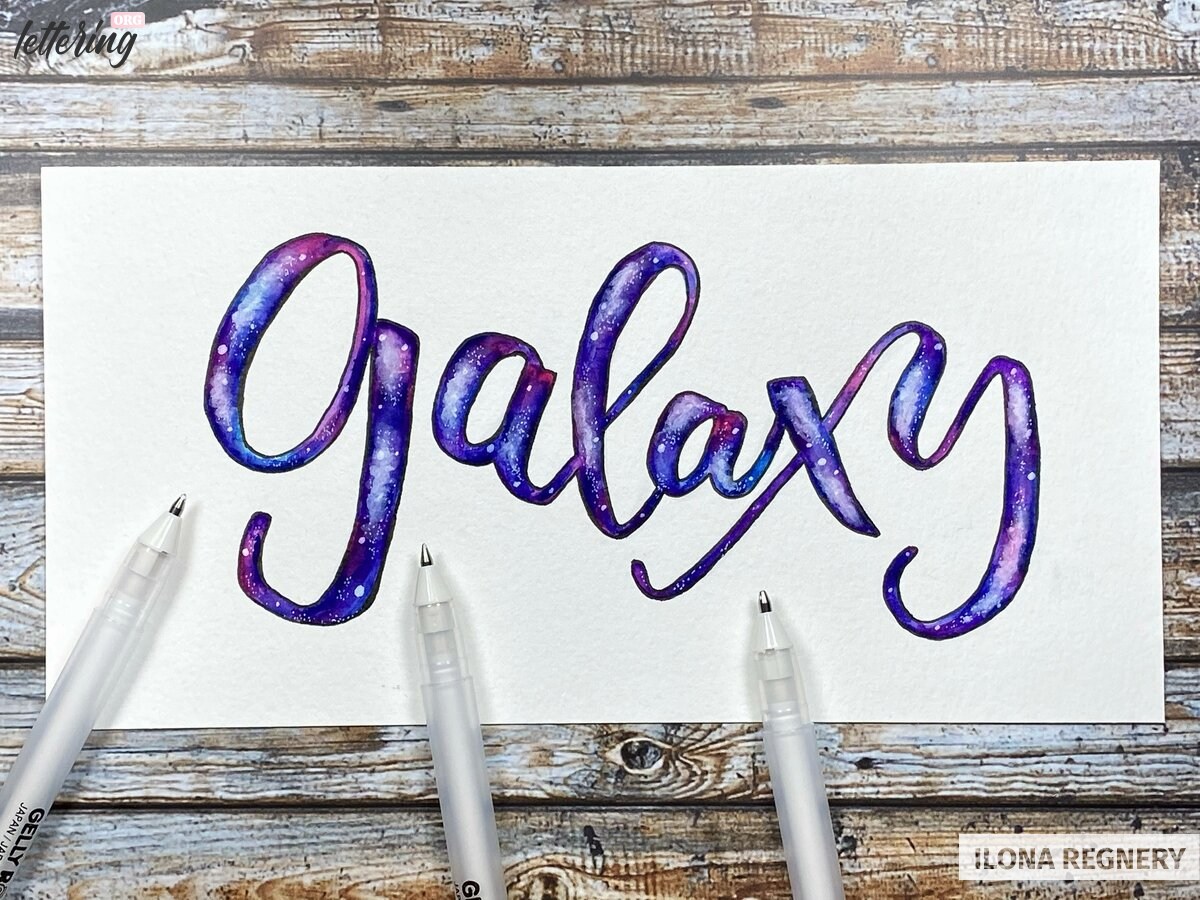
Add the milky way and stars
Use a white gel pen and add small wavy lines to the letters. Take your semi wet brush and
spread the added white ink. With small stippling moves you will get a nice cloudy look.
If the result is too dark yet, add a bit more of the white gel ink and repeat this step.
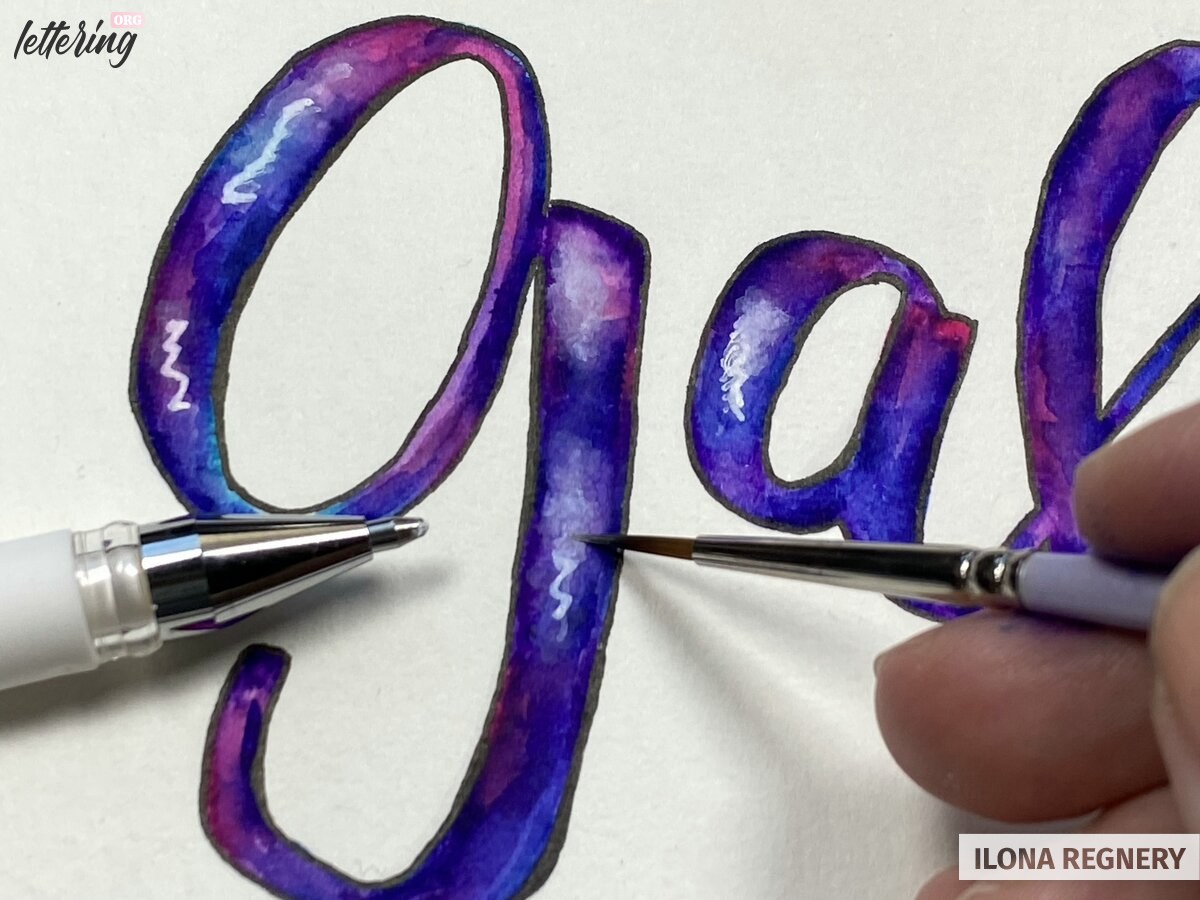
After all letters got a small milky part, Let the ink dried completely.
Now add small and bigger dots, using white gel pens in different sizes. Start with the smallest
size, I’ve used a 05. Add many little dots to your letters. Especially to the edges of the milky
way, inside and over the complete lettering.
Add now with the next size (08) only a few stars with enough distance to each other.
Finally add only here and there a big dot with the biggest size (10). The smaller the gel pen size the more you can add little stars.
Of course you can do this step with only one size too. In this case try to work with different pressure.
White gel pens can pick up the colors of your blends. Clean them between using.
Add the flares
Flares give this kind of blending a more galactical look. Use a white gel pen and paint small
crosses with long strokes close to the edges of your letters. If you like, you can add some
very small and short strokes to the center of the crosses too.
It’s really fun to add them, but easily it can become too much. Try to add no more than 1-2 to small and up to 3-4 to capital letters.
The flares come out more visible and intense if you add medium grey shadows to your lettering first.
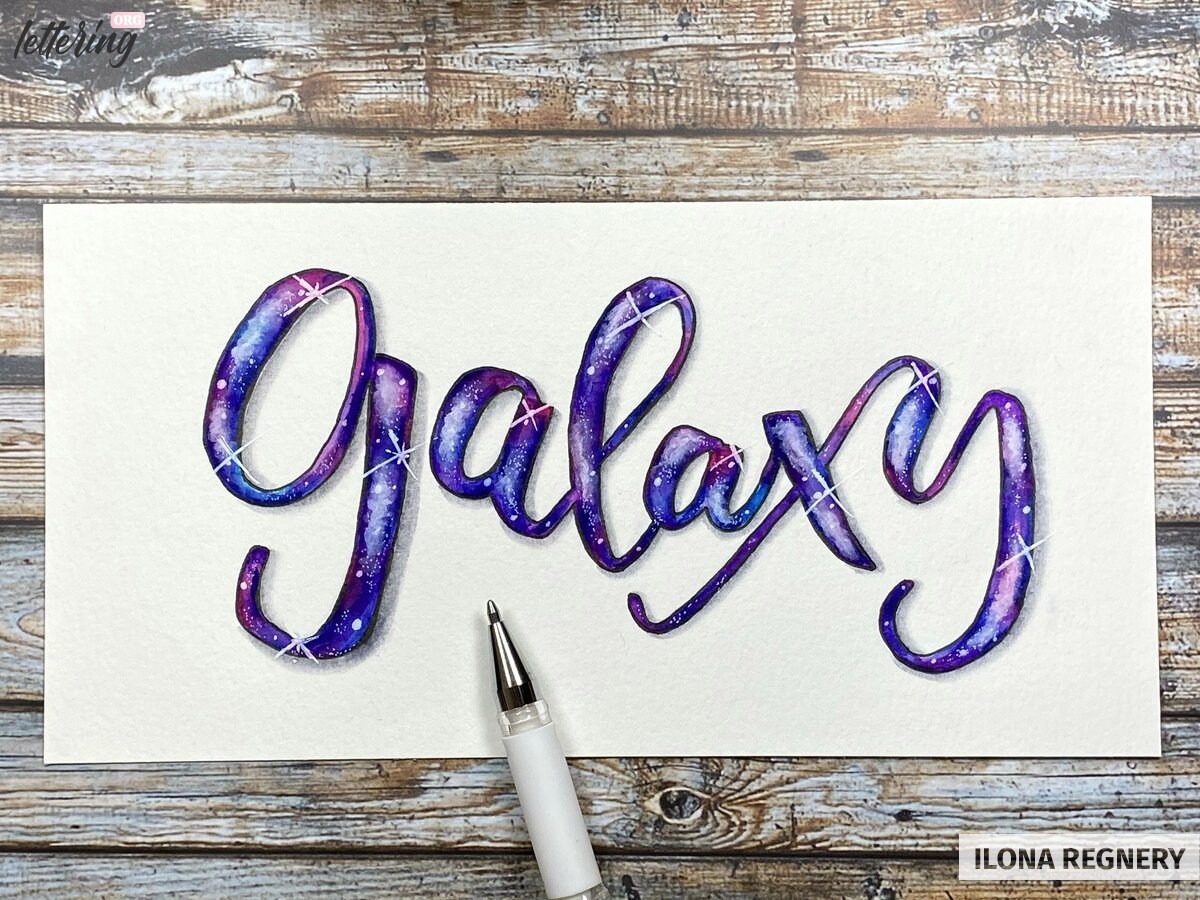
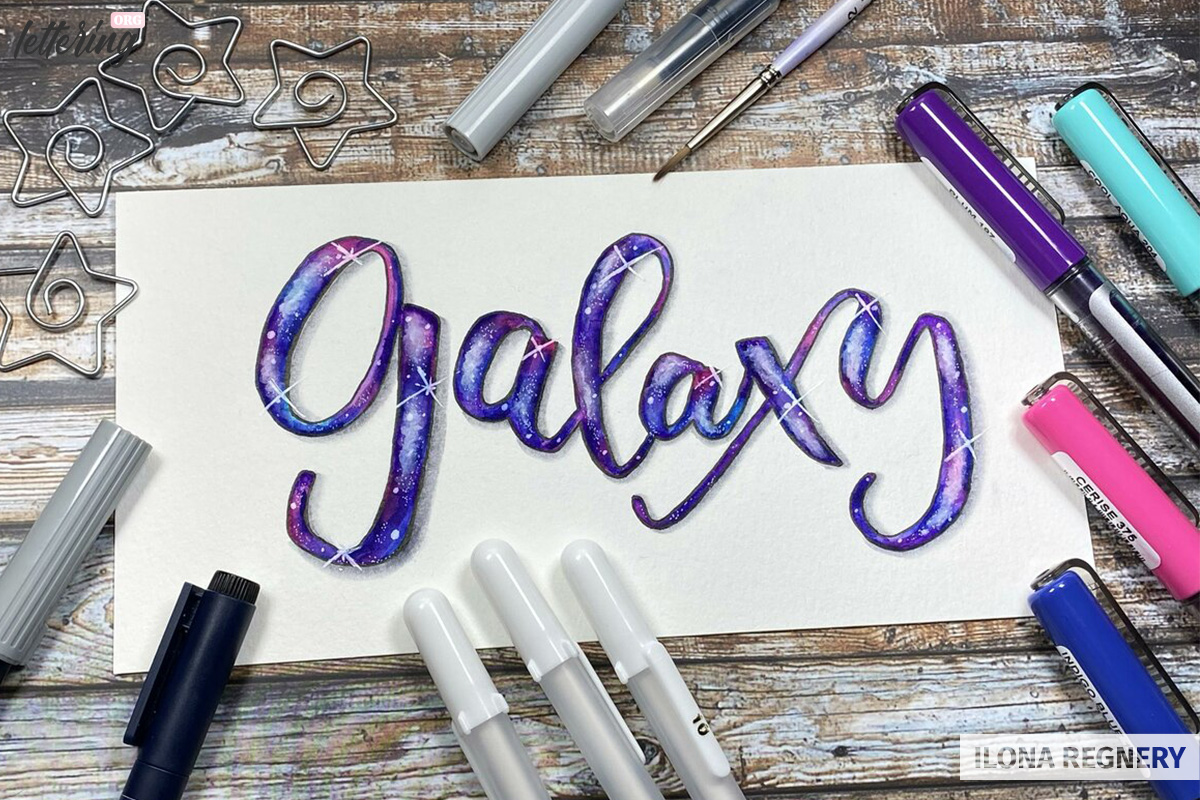
And that’s it! You just created your first galaxy lettering. The effect is really stunning, isn’t it?!

Now it’s your turn. Keep on practising and your letterings will become better with every single piece you will create.